Manual DepthAI installation
In First steps with DepthAI we used installer (either Windows installer, or bash script installer) to install depthai dependencies,
download the depthai repository from Github, install its requirements and run the DepthAI Viewer. You can also manually perform all these steps,
as described below.
Install DepthAI dependencies
Please refer to documentation here to install depthai dependencies.
Install DepthAI Viewer
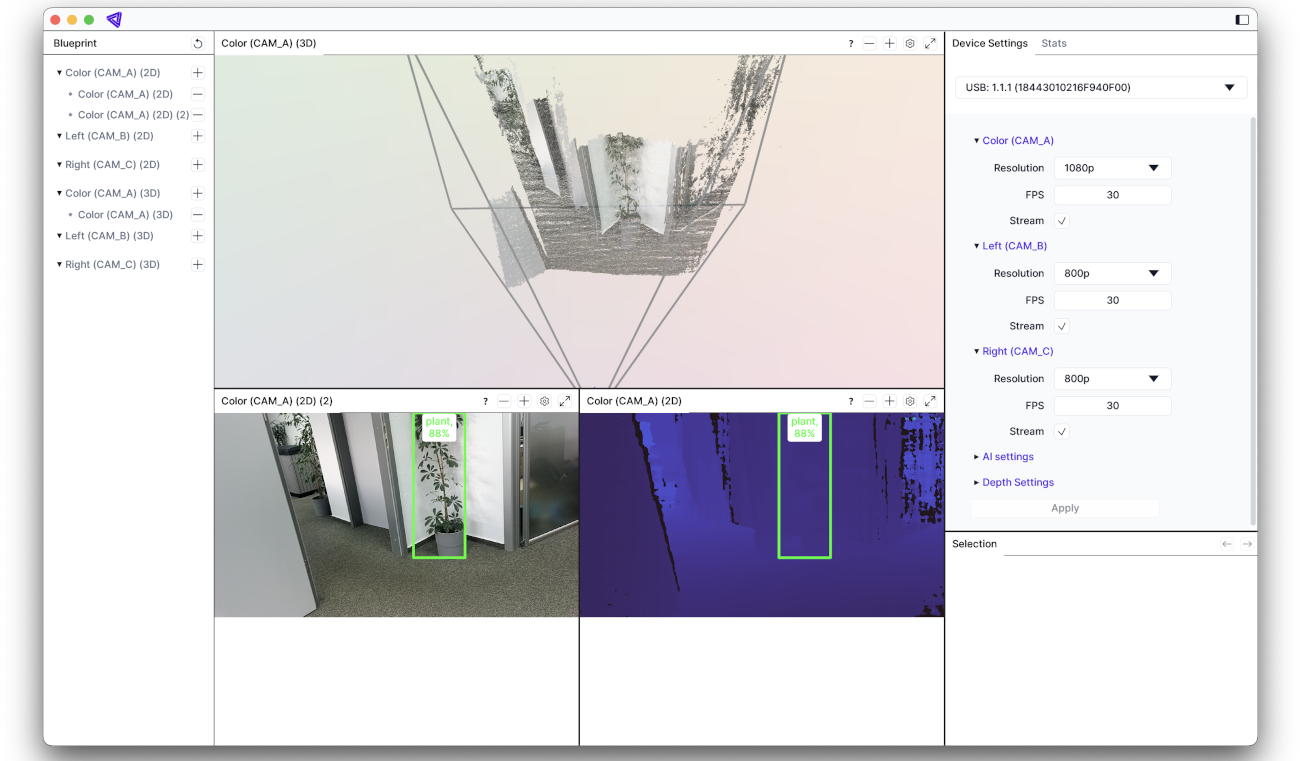
To install the DepthAI Viewer (visualization GUI for DepthAI), run:
python3 -m pip install depthai-viewer
You can launch the DepthAI Viewer by running:
depthai-viewer
# Or
python3 -m depthai_viewer
Install DepthAI library
DepthAI Viewer has it’s own depthai API library bundled in venv, so user doesn’t have to install it separately.
If you wish to run depthai application (python script) separately (eg. depthai code samples, or depthai experiments, or your own depthai application), you can install the depthai API library with pip:
python3 -m pip install depthai
Or, if you prefer C++, you can follow C++ API installation instructions.