Model Conversion
Overview
To utilize the full potential of HubAI models on our devices, they need to be converted to the RVC compiled format of the platform they aim to be ran on. Below, we have prepared simple step-by-step instructions to guide the conversion on HubAI by utilizing our cloud services. For local (offline) conversion, please refer to the Modelconverter tool.Conversion Guidelines
It is assumed here that the models aimed for conversion have already been uploaded to HubAI. If this step has not yet been completed, please refer to the Model Upload guidelines.
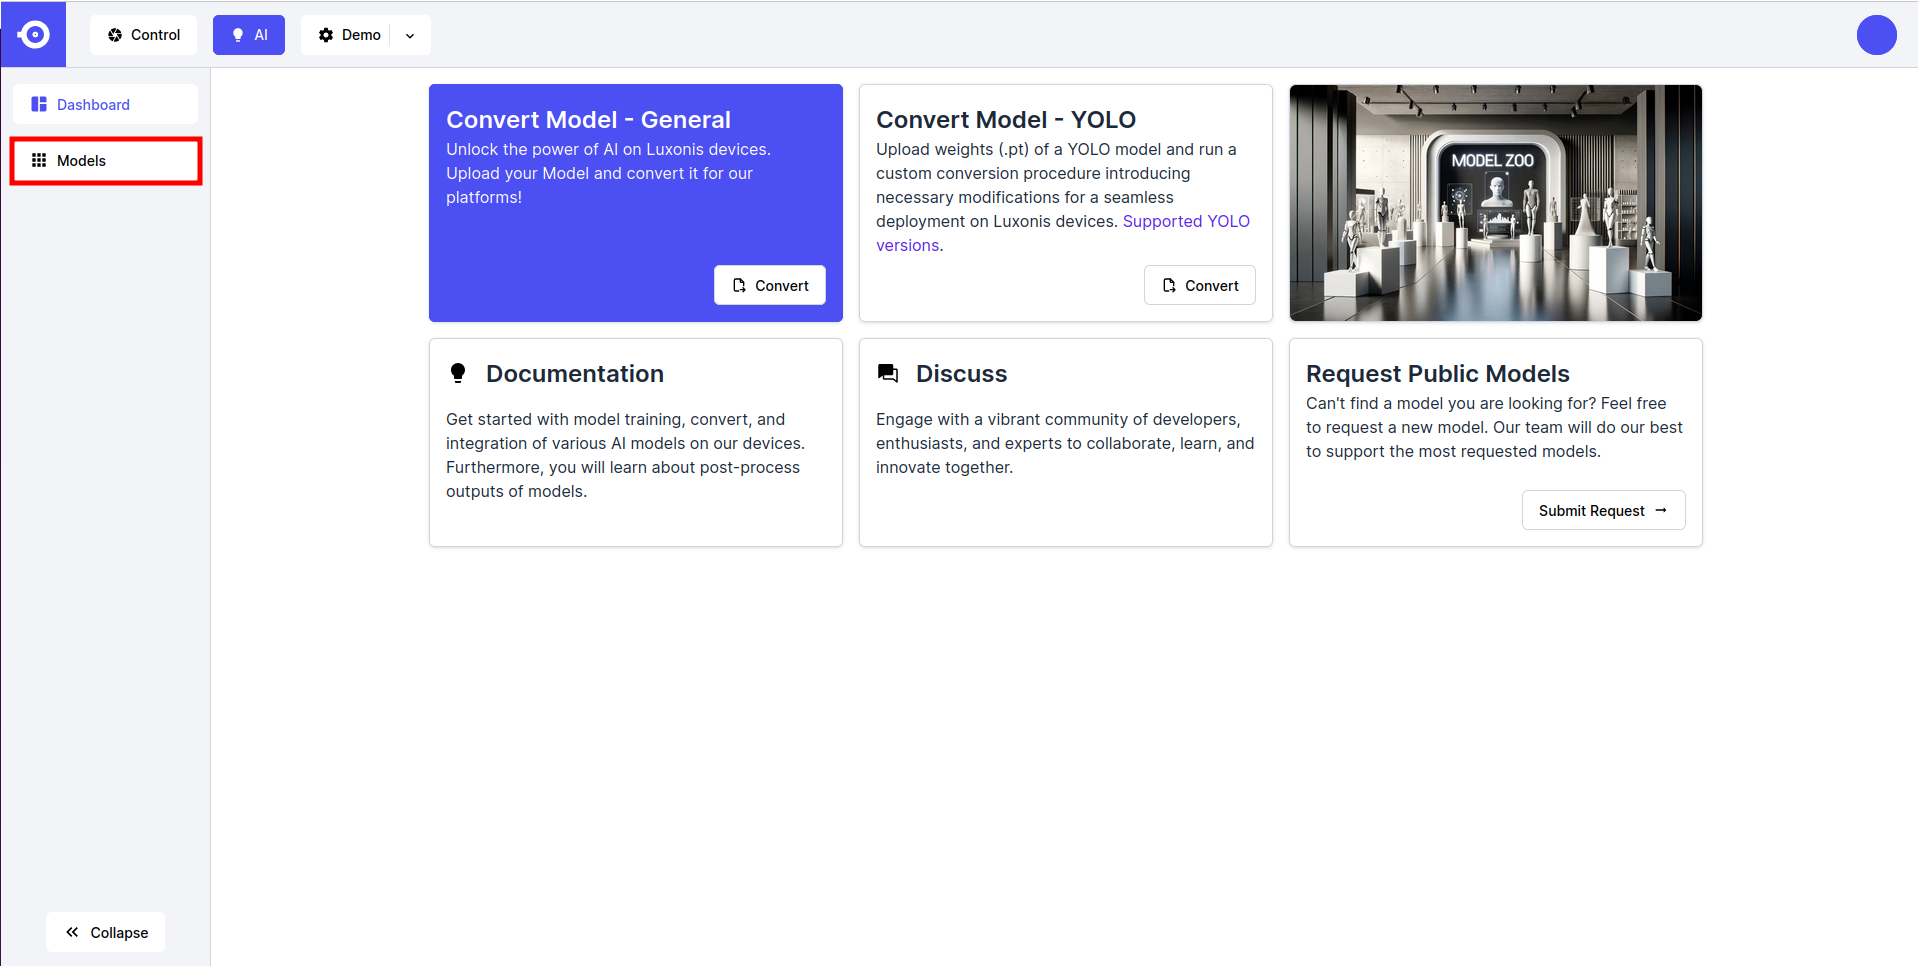
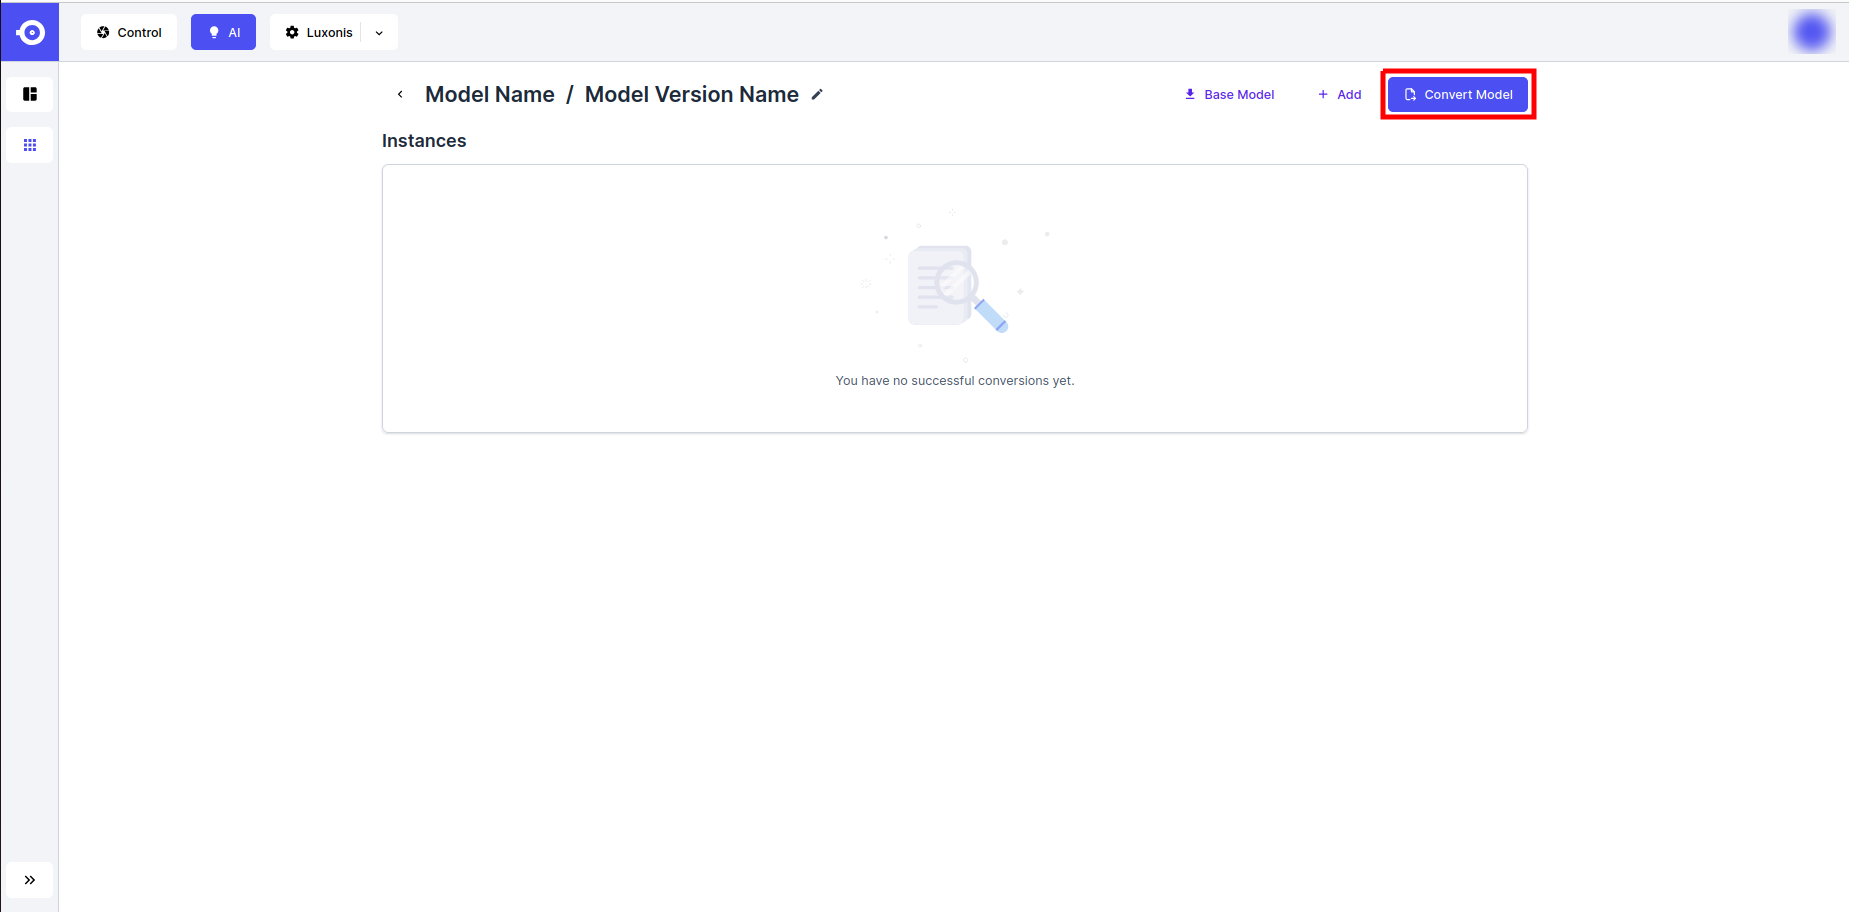
- Click on the icon of the desired model (public or private), scroll down to Model Variants section, and click on the Convert button next to the variant of interest.
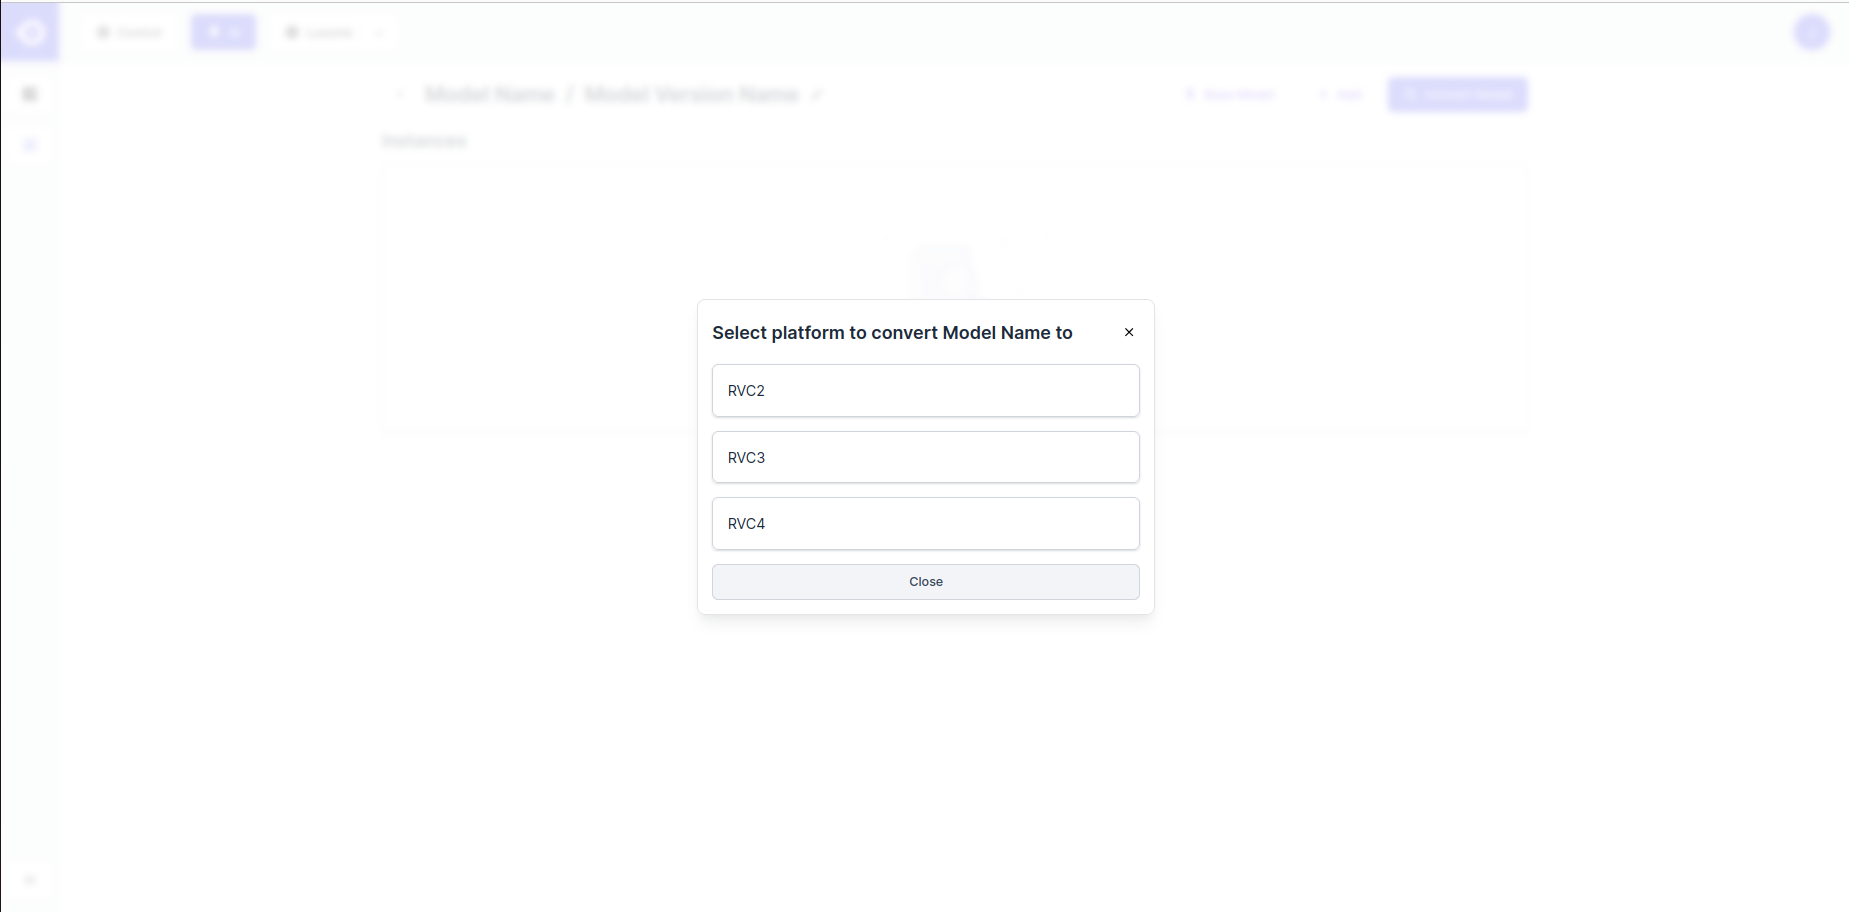
- This opens up a a pop-up window listing all the (RVC) platforms for which the model can be converted. Click on the platform of interest. Note that the options are dependent on the format of the uploaded model file. In brief, only the ONNX format allows conversion for all of the supported platforms.
- Next, you are asked to fill-in model descriptors and conversion parameters (some might be predefined if the Model File is a NN-Archive). Depending on the selected platform, you will be asked for:
- Model Instance Name: Name of the converted model displayed on HubAI (e.g. RVC2).
- Ir version / Snpe version: Format version the model is converted to.
- Disable Onnx Simplification (OPTIONAL): Select this option to disable ONNX model simplification (replacement of redundant operators with their constant outputs) during conversion.
- Mo Args (OPTIONAL): For RVC2 and RVC3, the OpenVINO Model Optimizer is used to convert the model to IR format. You can specify custom arguments here. In case of a conflict between custom and default arguments, custom ones will always take precedence. See the official documentation for more information.
- Compile Tool Args (OPTIONAL): For RVC2, the OpenVINO compile tool is used to compile model for inference. You can specify custom arguments here. In case of a conflict between custom and default arguments, custom ones will always take precedence. See the official documentation for more information.
- POT Target Device: Target device for POT (RVC3 only). Preferably set to VPU but set to ANY if it fails.
- Convert to blob: Enable this option to export your model as a .blob instead of the default .superblob (see the Conversion Concepts section for details on both formats). Use this option primarily when converting for DepthAI v2, where models must be compiled for a fixed number of SHAVEs (set manually using the slider below). For DepthAI v3, it is strongly recommended to leave this option unchecked and use the default .superblob format instead.
- Shape: The input shape of the network.
- Scale Values: A list of scale values to be used for each channel (e.g. 123.675, 116.28, and 103.53 for ImageNet).
- Mean Values: A list of mean values to be used for each channel (e.g. 58.395, 57.12, and 57.375 for ImageNet).
- Encoding From / Encoding To: Transform the desired input channels order (e.g. from RGB to BGR or vice versa). Encoding From defines the input channel order of the base model and the Encoding To the desired order of the converted model. If the same order is passed for both, the model will be converted without any input channel order modification.
- Quantization Data: For RVC3 and RVC4 platform conversion, quantization is performed to reduce the model computational and memory costs (read more in the Conversion Concepts section). This process requires example input data to be passed to the model. There is currently no option to upload a custom quantization dataset but we offer some generic ones for you to choose from (currated sets of 1024 images taken from the Open Images V7 and forklift-1 datasets). To get the best possible quantization results, choose the one most similar to the model’s training dataset (or switch to local conversion using the Modelconverter tool that allows specifying a custom quantization dataset):
- Driving - Images of streets and vehicles (OIv7 classes like Vehicle, Car, Traffic light, etc.);
- Food - Images of fruit, vegetables, raw and prepared foods (OIv7 classes like Apple, Salad, Pizza, etc.);
- General - A random subset of OIv7 images representing a diverse set of objects and scenes;
- Indoors - Images of indoor spaces (OIv7 classes like Table, Chair, Fireplace, etc.);
- Random - Random-pixel images;
- Warehouse - Images of warehouse interiors (a random subset of forklift-1 images);
- Max Quantization Images: Maximum number of images to use in quantization.
- Target Precision: Target precision for quantization (RVC4 only). Two options are available: FP16 (half-precision floating point quantization) and INT8 (integer quantization). Choose FP16 if you need a balance between speed and accuracy with minimal quantization effects, and INT8 if you want maximum performance and model compression, and are okay with potential minor accuracy trade-offs.
During conversion, preprocessing is embedded into to the model structure. It is generally advised to fill in the relevant parameters (Scale Values, Mean Values, and Encoding) in a way so that the converted model expects BGR input without any additional scaling or mean shifting.The order of preprocessing operations is:
- Reversing input channels;
- Substracting mean values;
- Dividing by scale values.
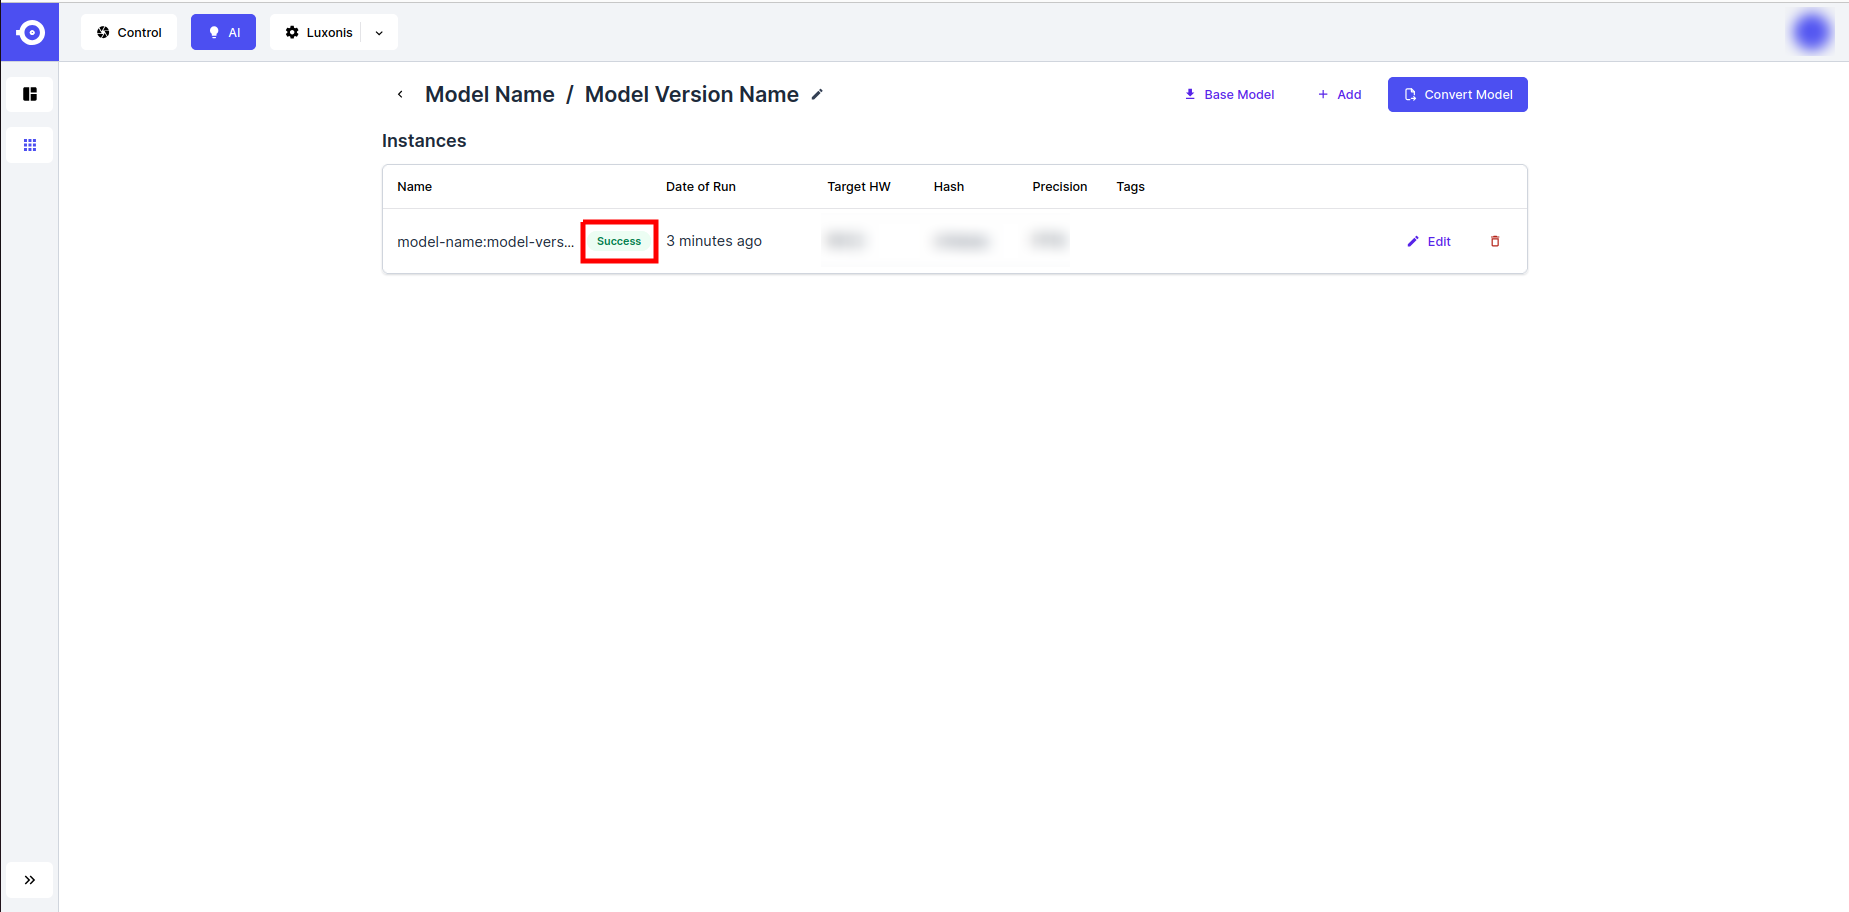
- Once done filling-in the parameters, click on the Export button. This starts the conversion process by making a new model variant instance and sets its status marker to Pending. The conversion process will take a few minutes to complete, depending on the size and complexity of the model.
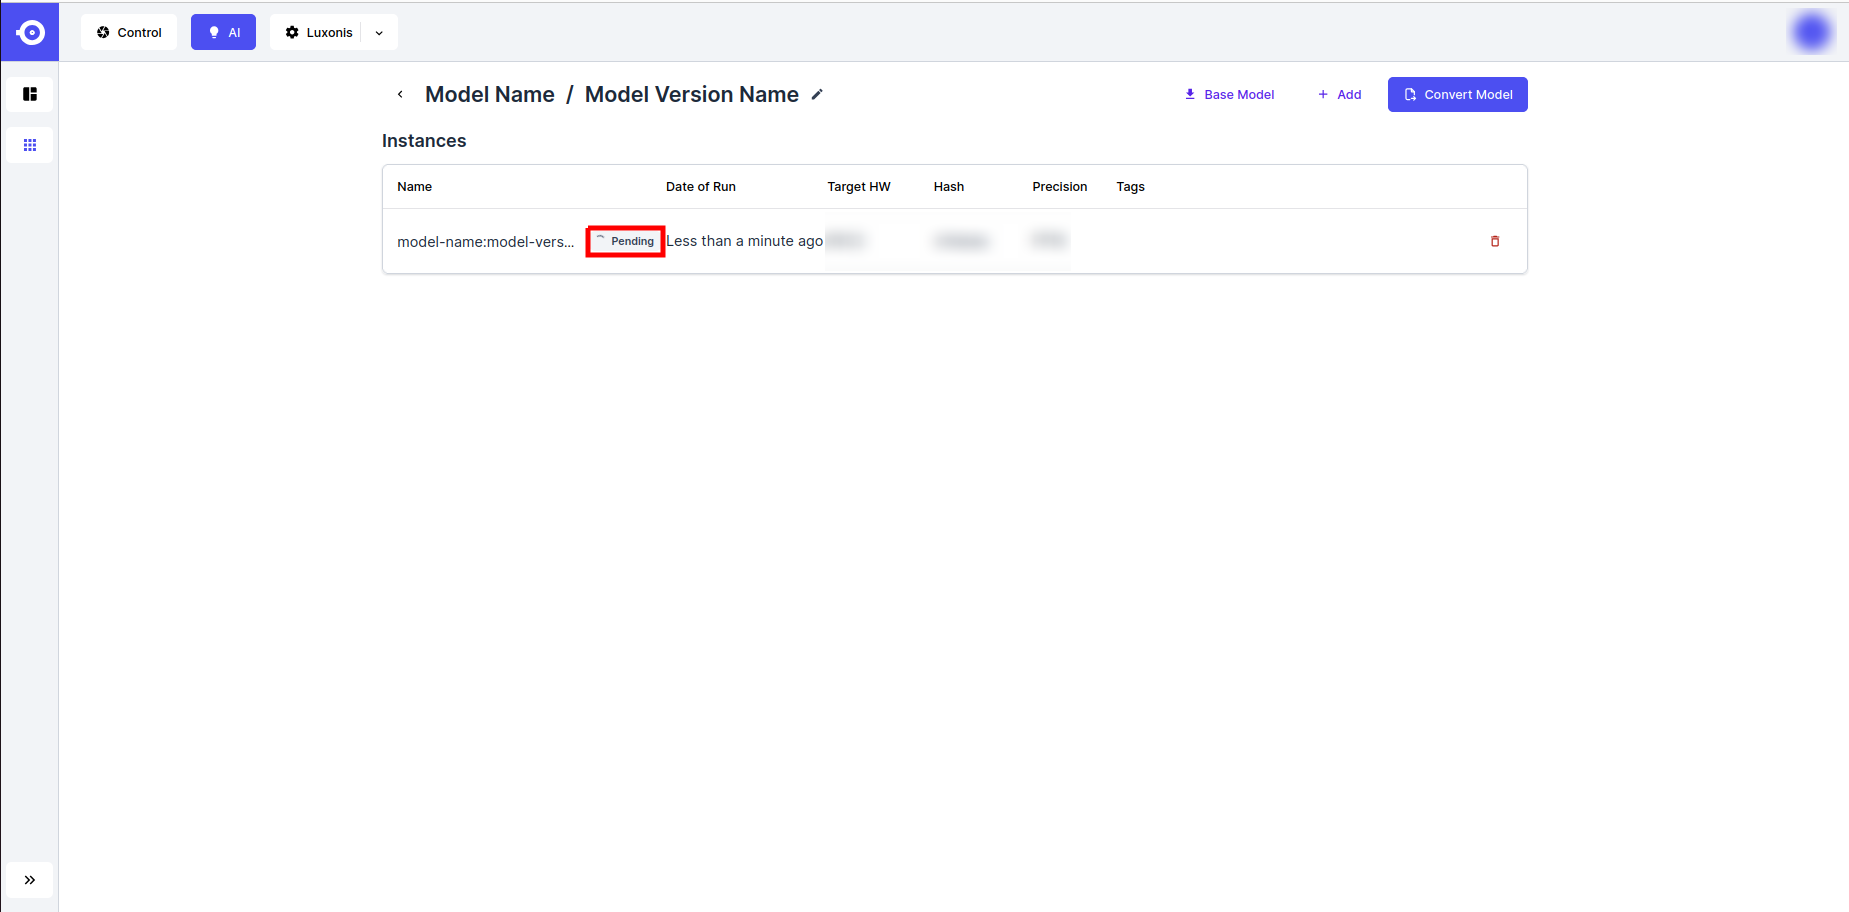
- Conversion completion is marked by the Success status marker. The model can now be downloaded or referenced through the DepthAI API (see the Inference guidelines).
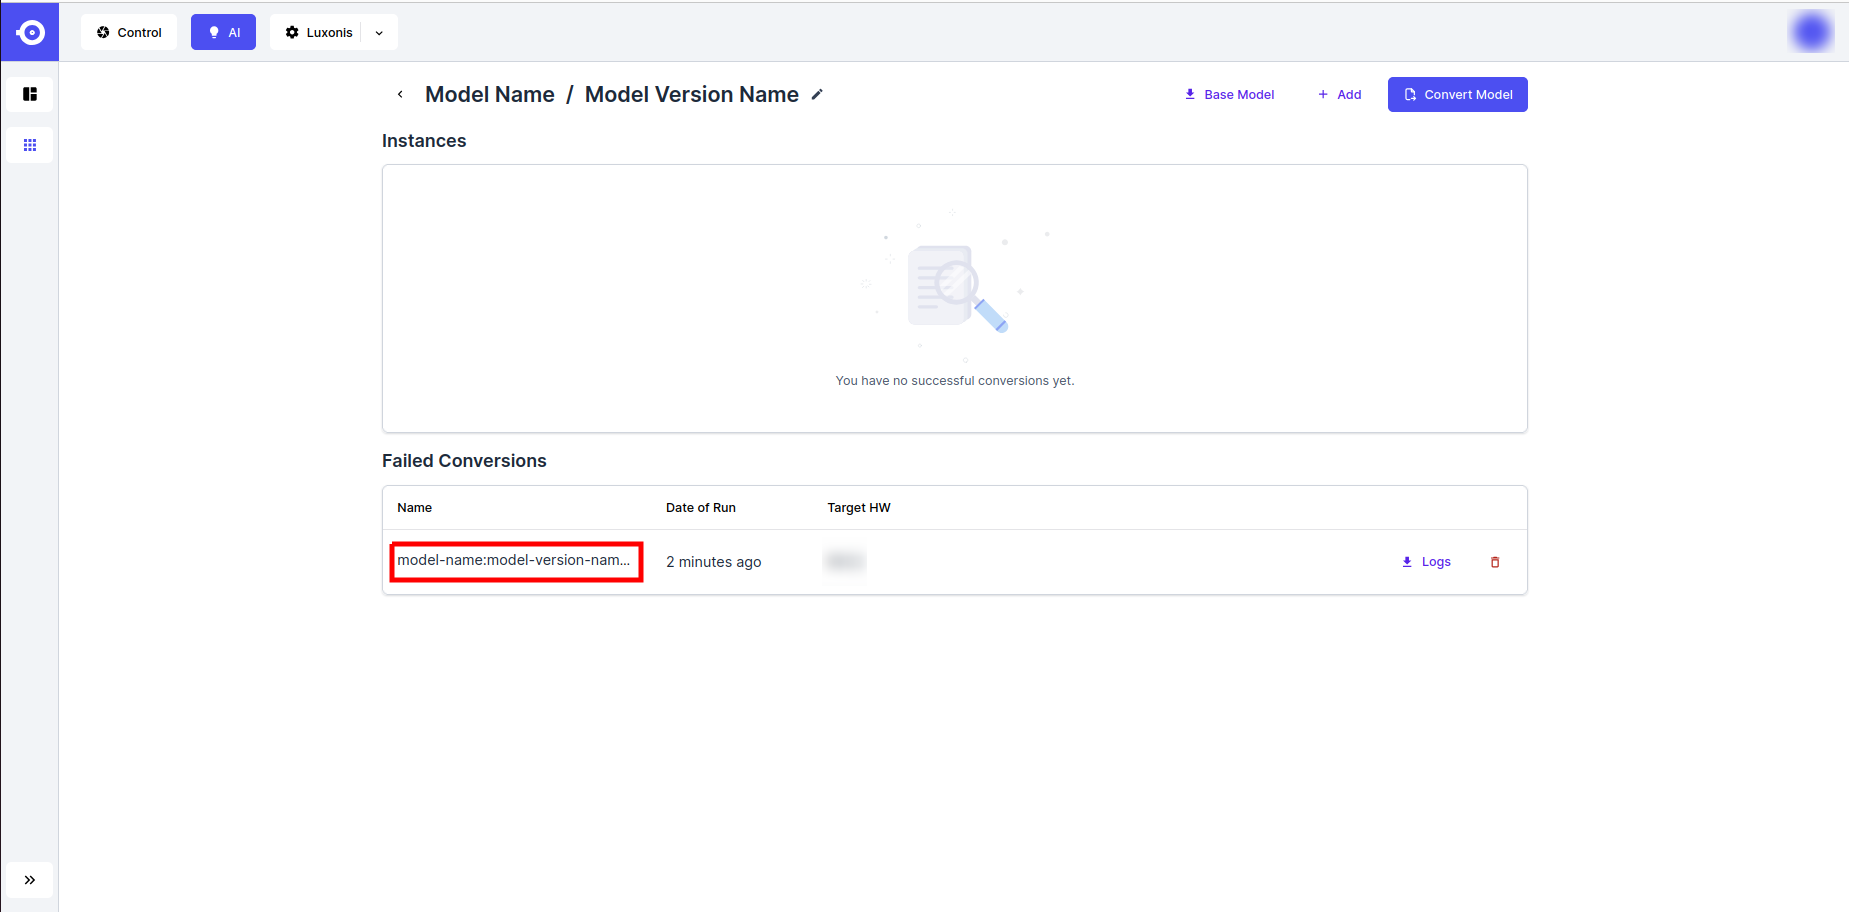
Troubleshooting
Not all models can be converted for the desired platform. You check the failed conversion logs as follows:- Find the failed conversion job in the Failed Conversions section and click on it's name.
- Download the conversion logs by clicking on the Logs button in the top right corner or inspect them directly by scrolling the Conversion process logs at the bottom of the page.
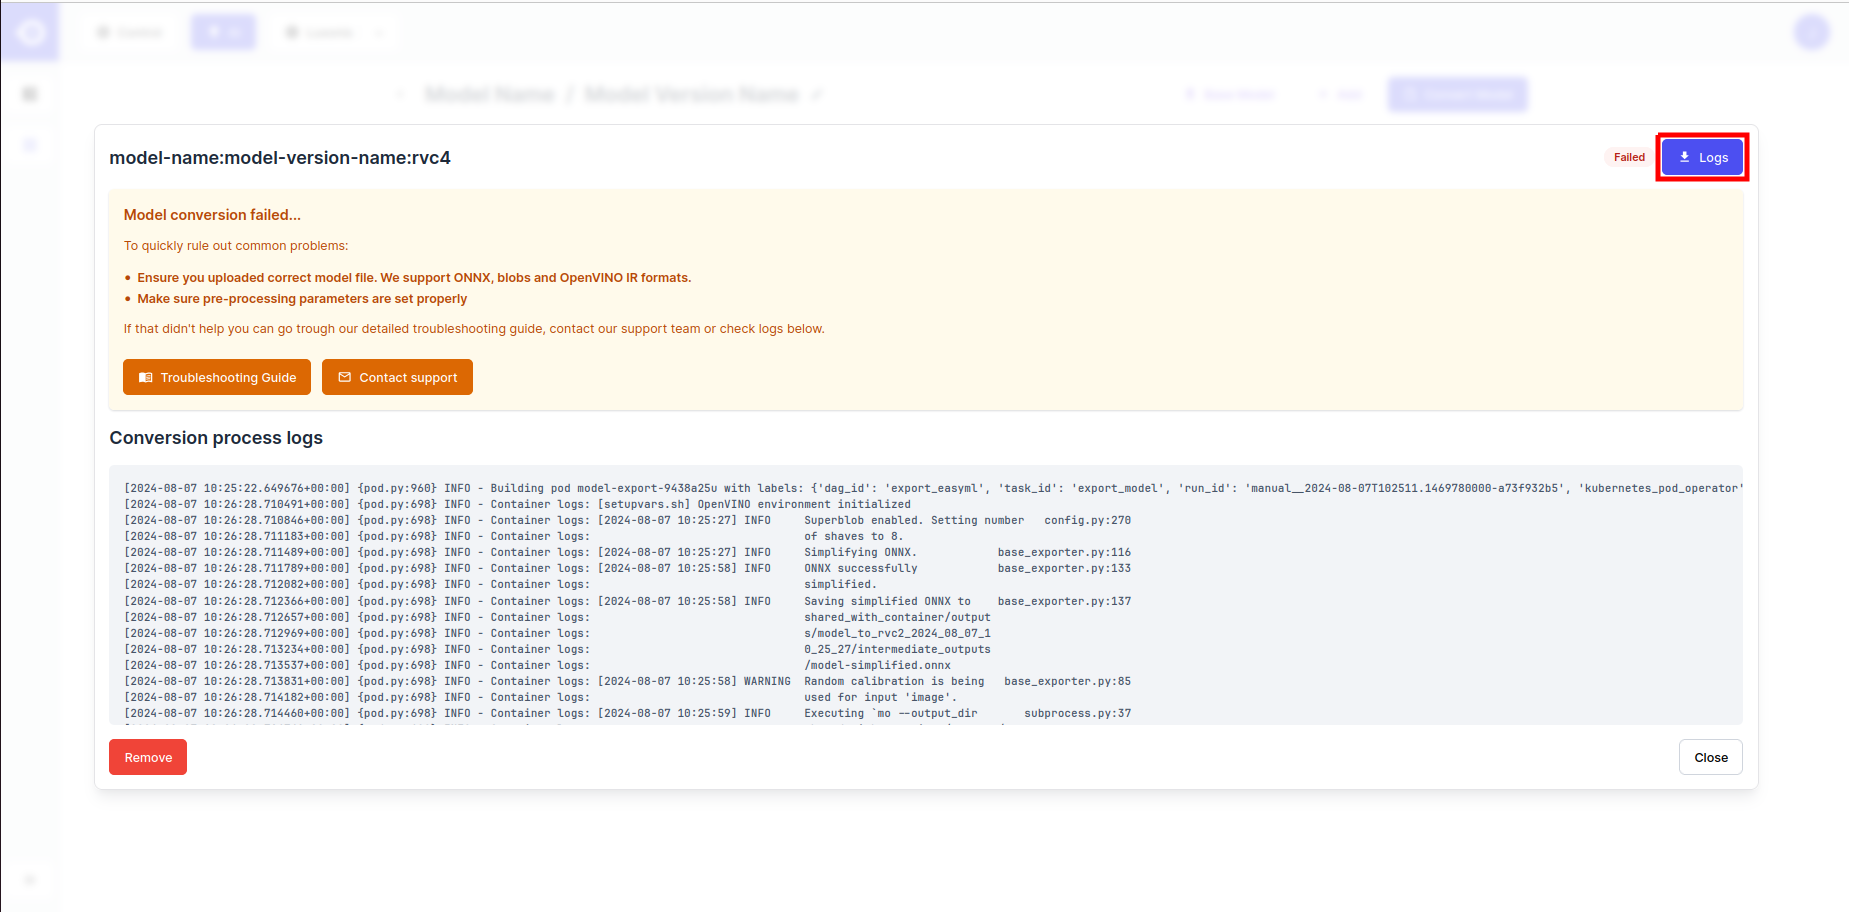
If export fails, corrections need to be made either to the model or the utilized conversion parameters. Please consult the Conversion Troubleshooting page for more information.