Model Upload/Download
Overview
HubAI allows you to upload your own custom models and download any models you have access to. Below is a simple step-by-step guide to walk you through the upload and download process.Upload Guidelines
It is assumed here that you already have the Model File(s) and Model Card prepared. If this is not the case, please refer to the Model Preparation guidelines.
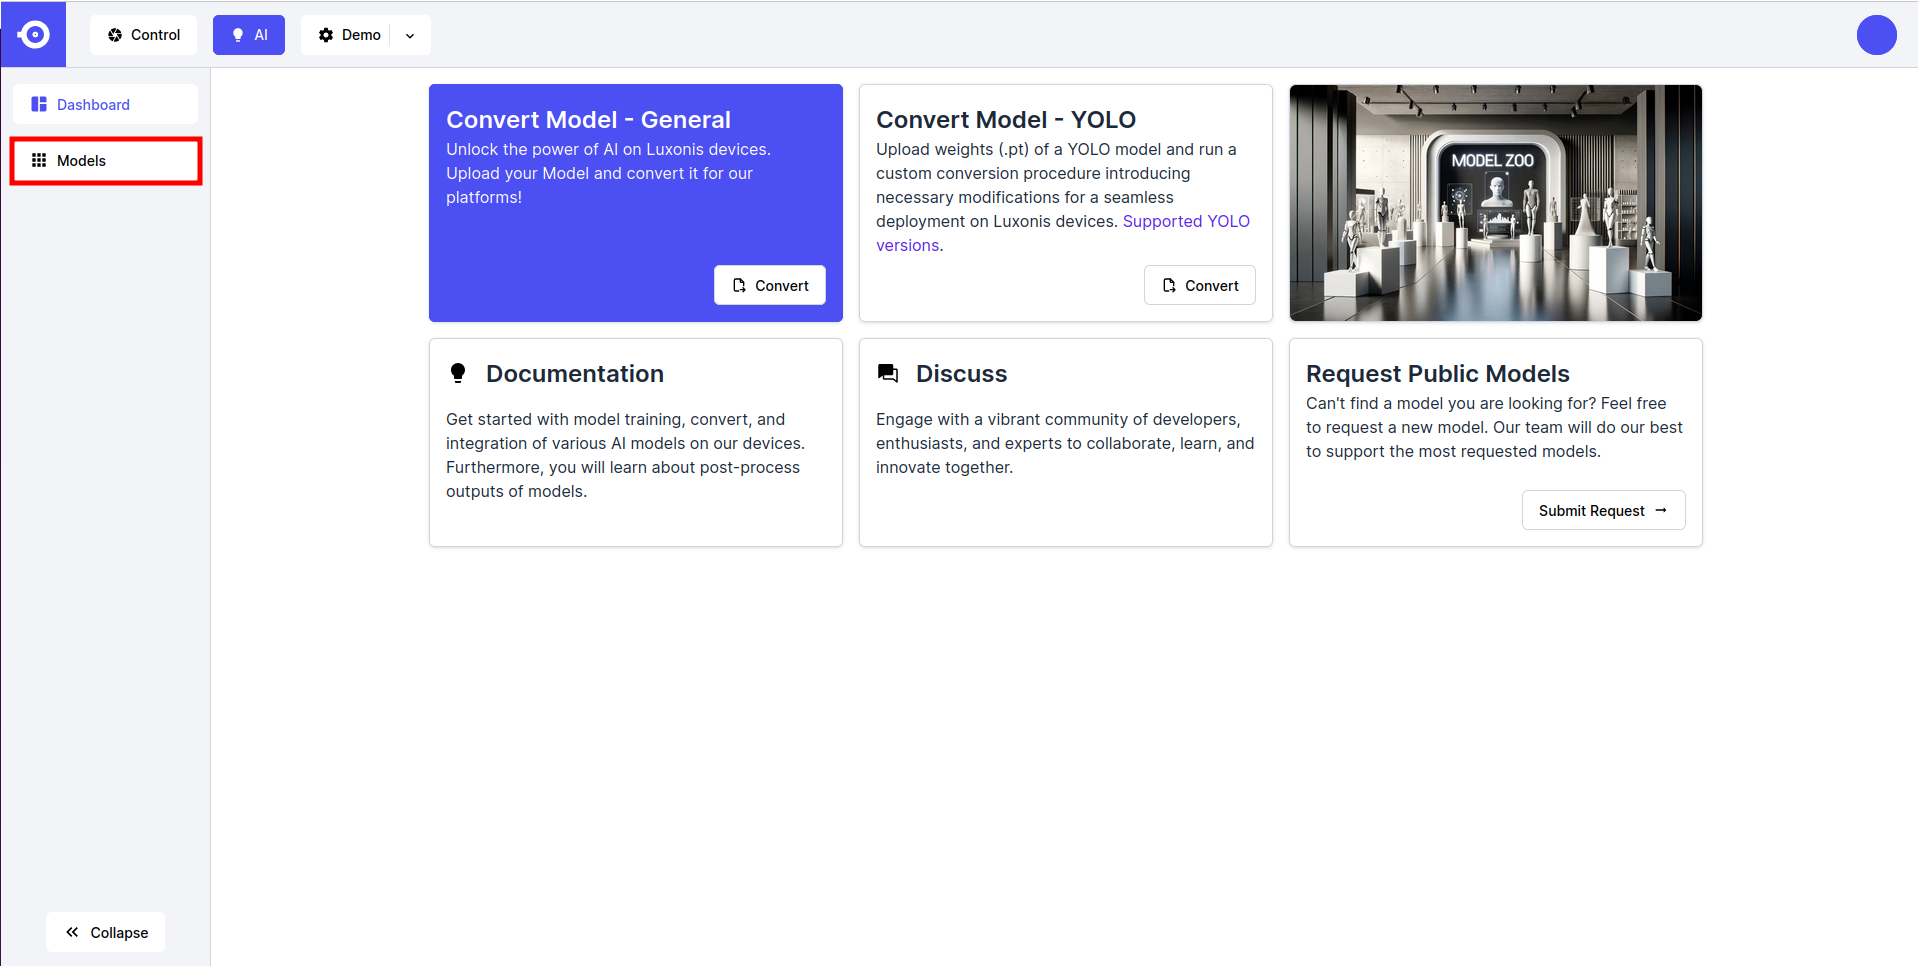
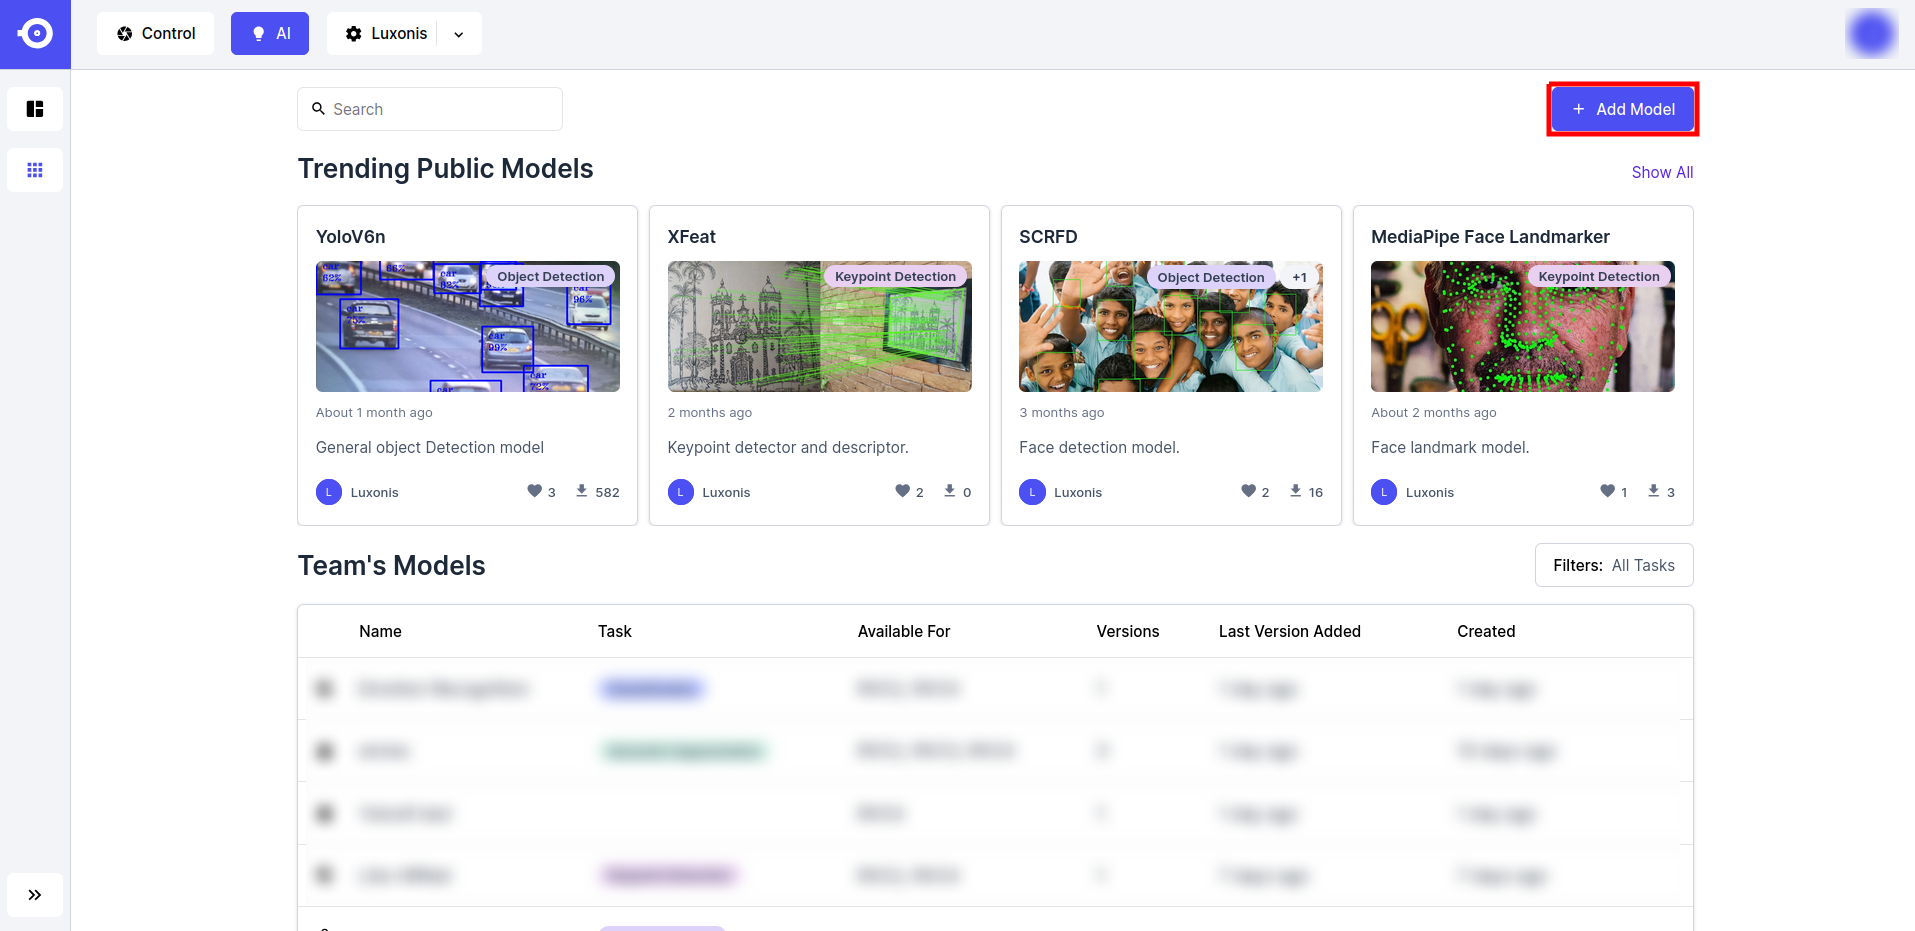
- Click the Add Model button in the top right corner of the page.
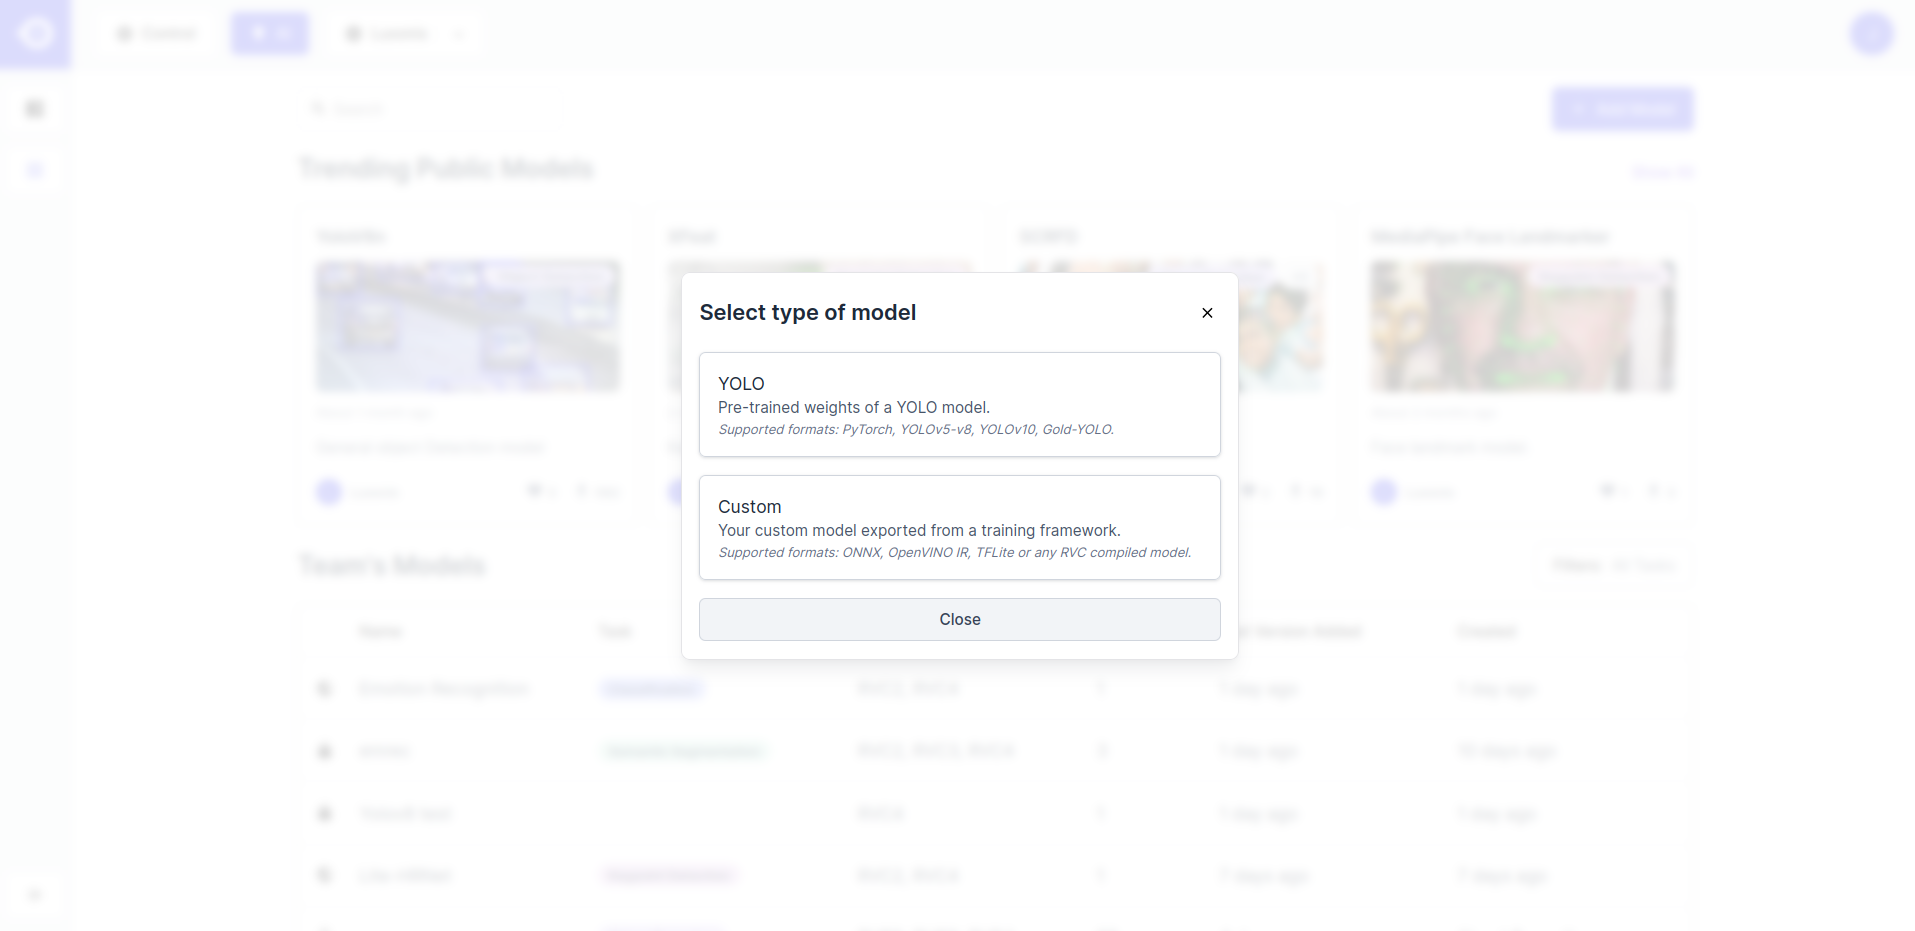
- Select the upload model type:
- YOLO, if uploading PyTorch (
.pt) weights of a YOLO model (make sure that your model is one of the supported PyTorch YOLO models). - Custom, if uploading an ONNX (
.onnx), OpenVINO IR (.xmland.bin), or TensorFlow Lite (.tflite) or any RVC compiled format model executable(s).
- YOLO, if uploading PyTorch (
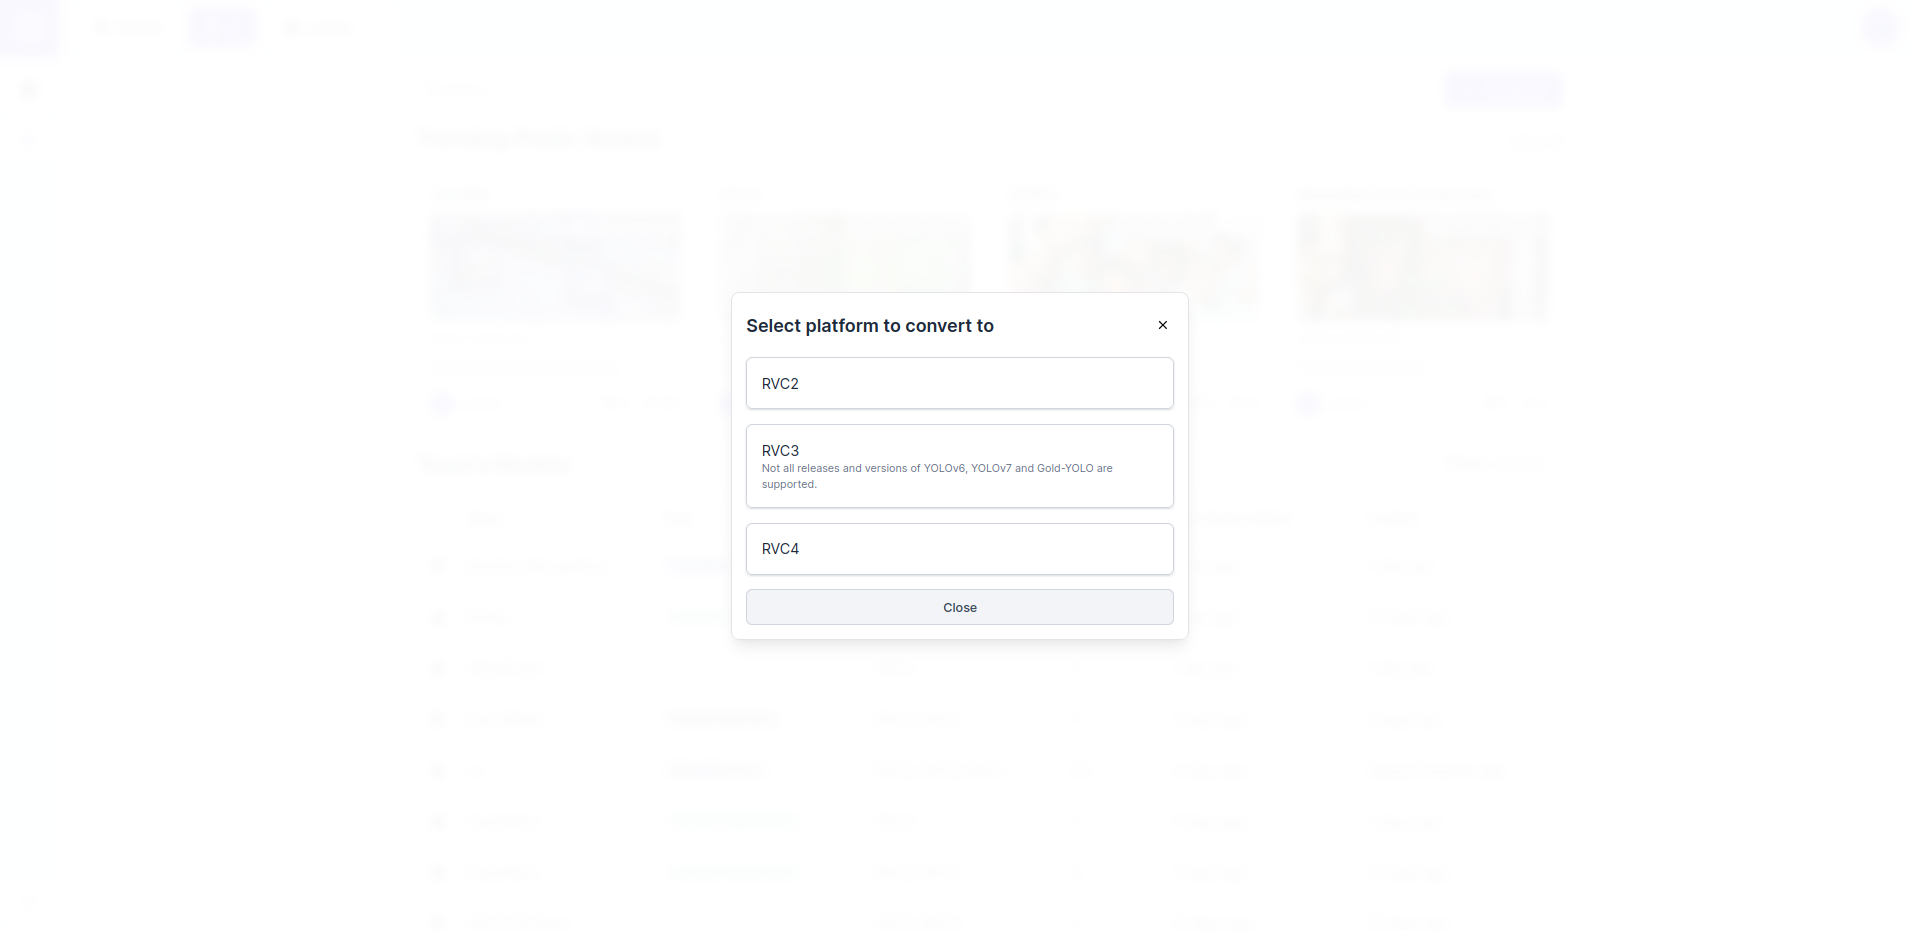
- If the YOLO option was selected, the model will be converted to the appropriate RVC compiled format during the conversion. A pop-up window is opened where you can choose the RVC Platform the model should be converted for.
- Next, a pop-up window is opened. Fill-in the empty fields with model descriptors. Depending on the selected model type and platform, you will be asked to fill-in some of the following parameters:
- Model Name (REQUIRED) - Name used to reference the model through HubAI.
- Model Version - Version of the model (e.g. 1.0.0 if the first version).
- License - Choose the license that governs the use/distribution of the model (e.g. MIT).
- Public - Choose whether the model should be public (visible to other HubAI users). Default option is private (team-owned).
- Short Description - Short description of the model shown under the model tumbnail.
- Model Image - Upload image that illustrates model performance.
- Tasks - List machine learning tasks that the model tackles (e.g. classification, object detection, etc.).
- YOLO-specific parameters:
- Model Instance Name - Name of the converted model (e.g. <model>:<platform>).
- Version - YOLO version of the uploaded model (e.g. YOLOv5).
- Class Names - Add class names one-by-one by clicking the Add button.
- Shape - Input shape of the model.
- Quantization Data - Models converted for RVC3 and RVC4 platforms can be quantized to reduce their computational and memory costs. This process requires example input data to be passed to the model. Choose the most appropriate dataset from the provided options (the one most similar to the model’s training data) or None if you do not want to quantize the model.
- POT Target Device - Target device for POT (RVC3 only).
- Once done, upload the Model File(s) (click to upload or drag and drop to the Model File section) and click on the Add button (or Export button for YOLO) to upload the model to HubAI.

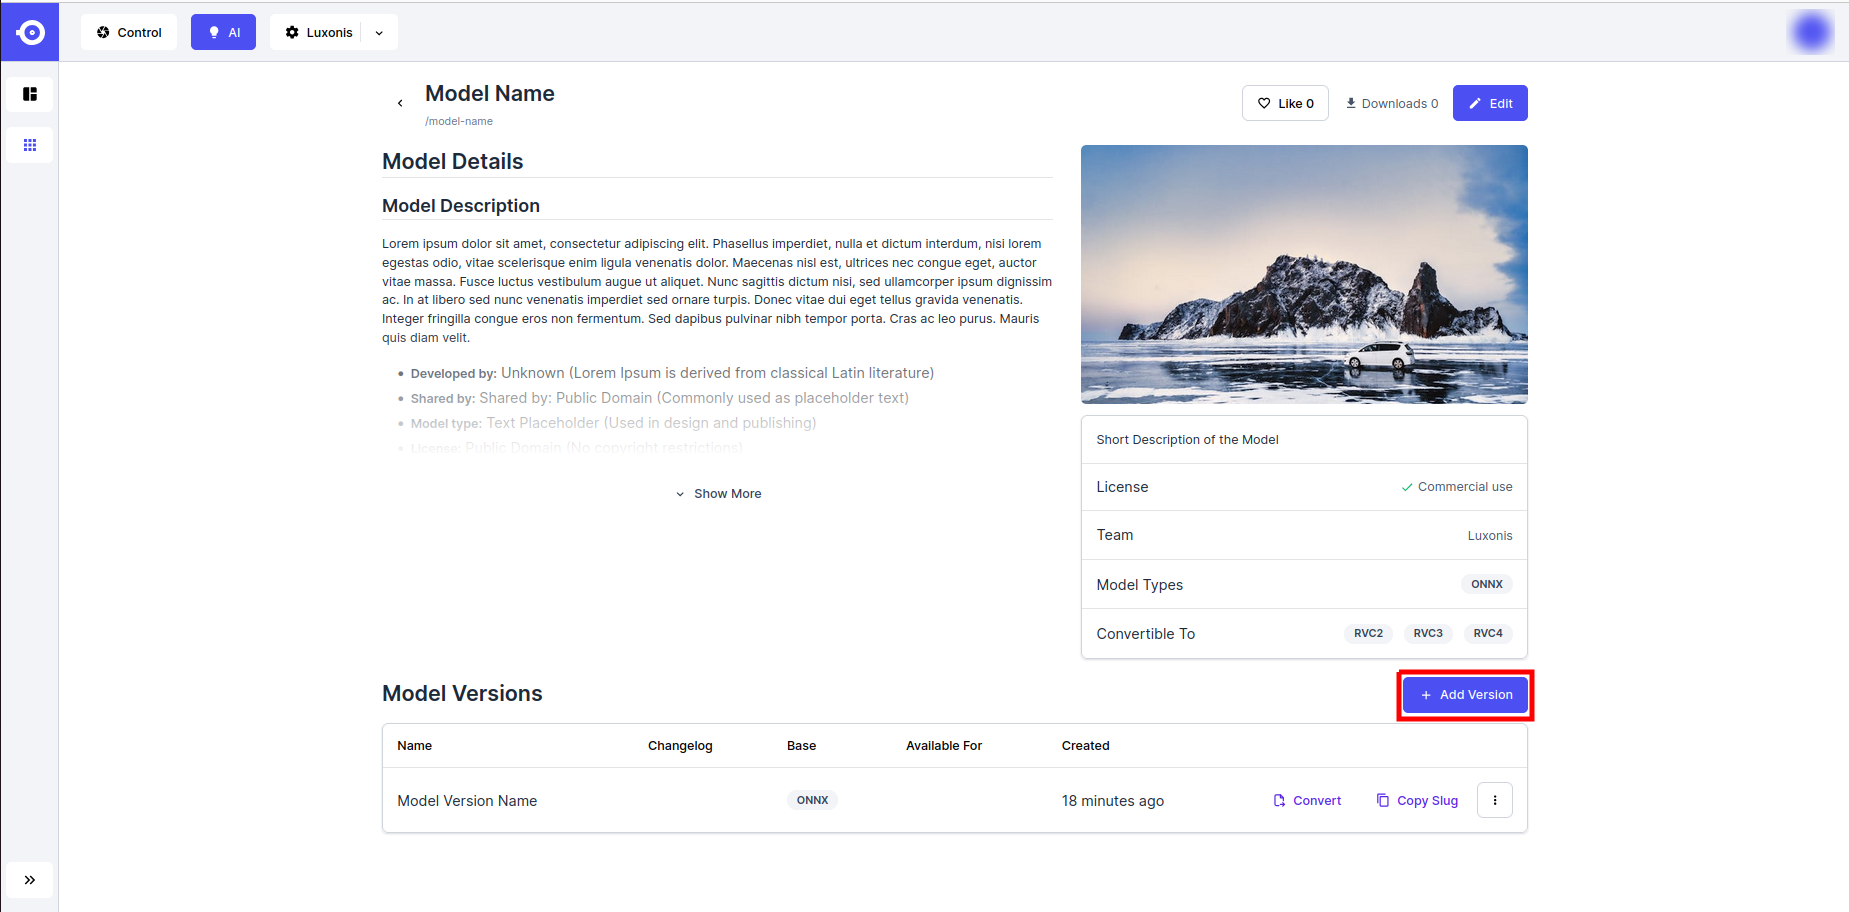
- HubAI allows upload of multiple versions of the model (e.g. if models are exported with different input shapes, trained on a different datasets, etc.). A new model version can be added by clicking the Add Version button in the bottom right corner of the page. For public models, it's suggested to follow a uniform version naming. The version name should not include the model name and consist only of relevant descriptors used to differentiate between variants (e.g. name of the training dataset, input shape etc.). Descriptors shoulf be separated by a single space. Make sure that the input shape (input_height x input_width) always comes as the last descriptor.
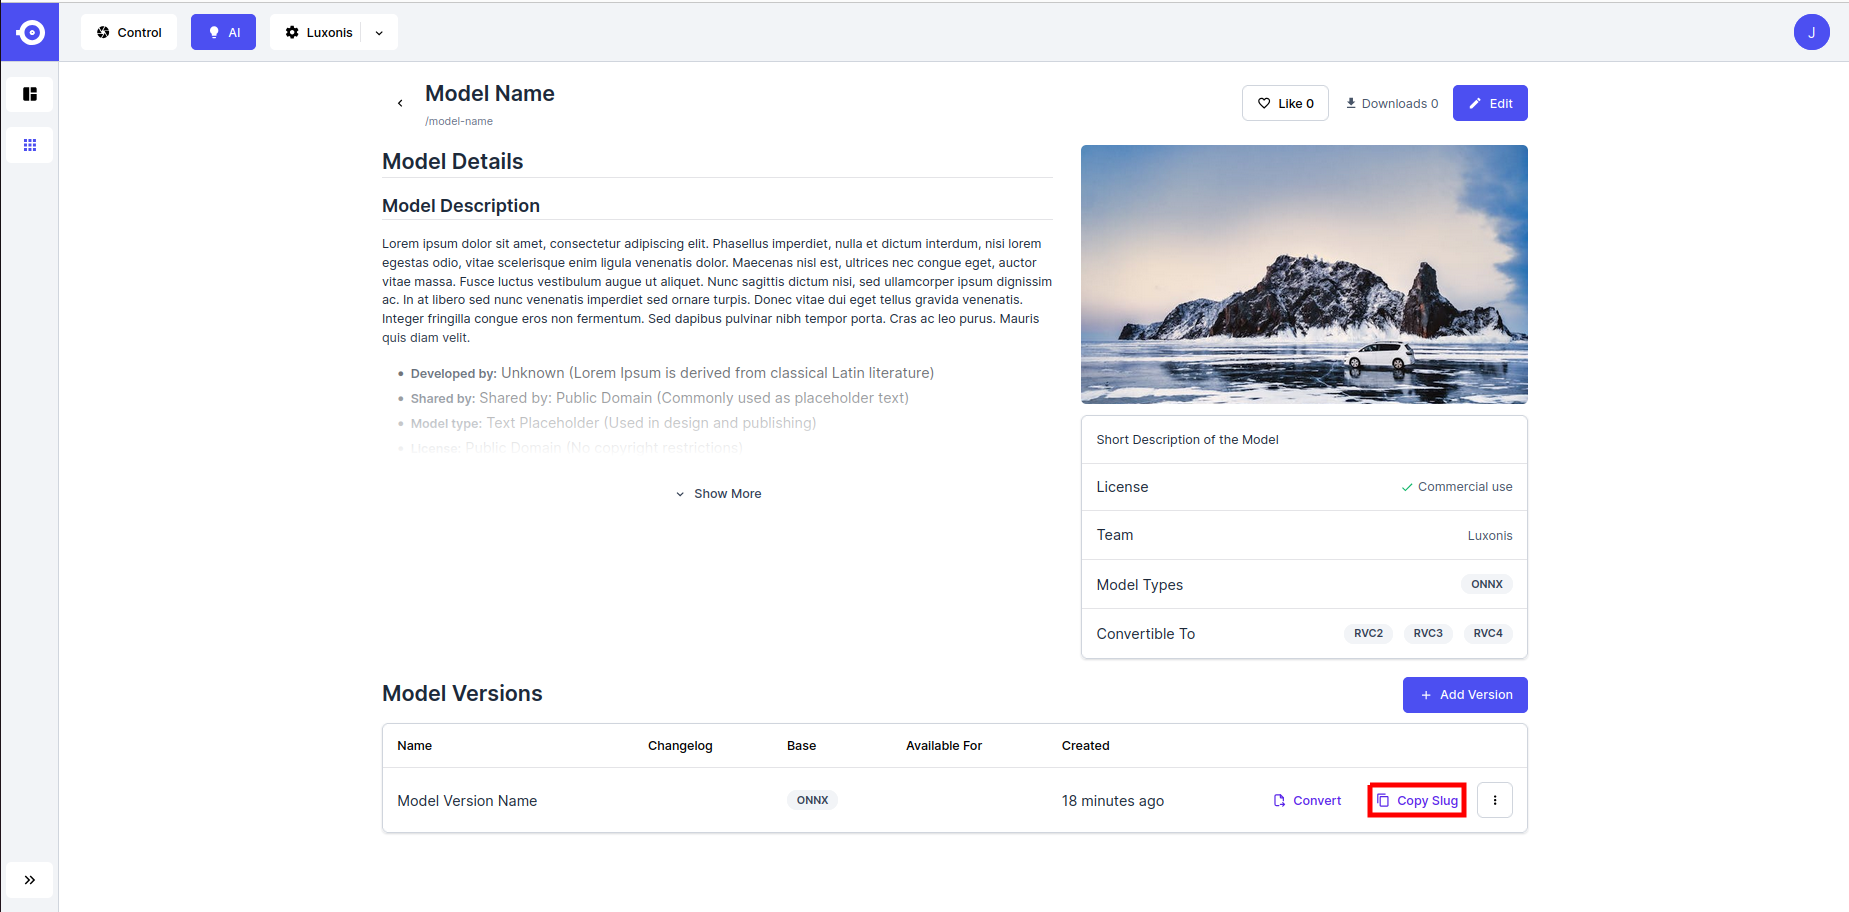
- Once done uploading, you can refer to the specific version using the reference obtained by clicking the Copy button next to the version of interest:
Can't find a model you are looking for or have issues with uploading your model? Feel free to fill-in the model request form. We will do our best to support the most requested models.
Download Guidelines
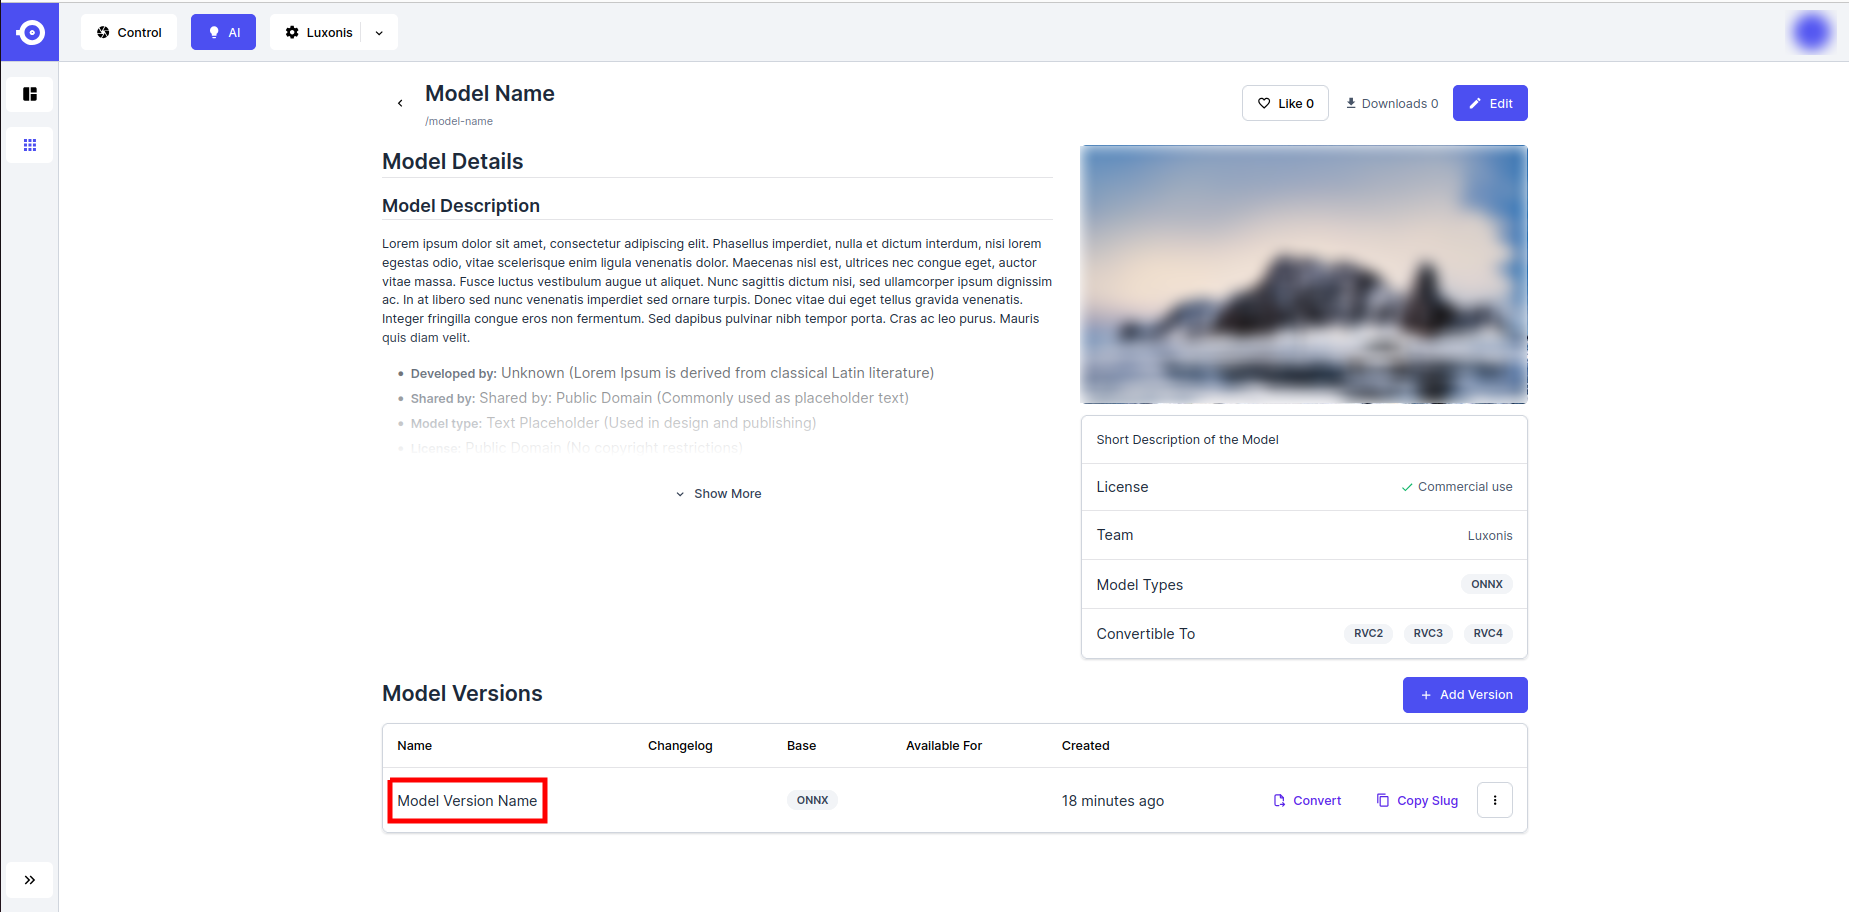
To download a model from HubAI:- Click the icon of the desired public or private (team-owned) model, scroll down to Model Versions, and click on the name of the desired model version.
Base Model
- To download the un-converted model, click on the dotted button in the top right corner of the page and choose Base Model.
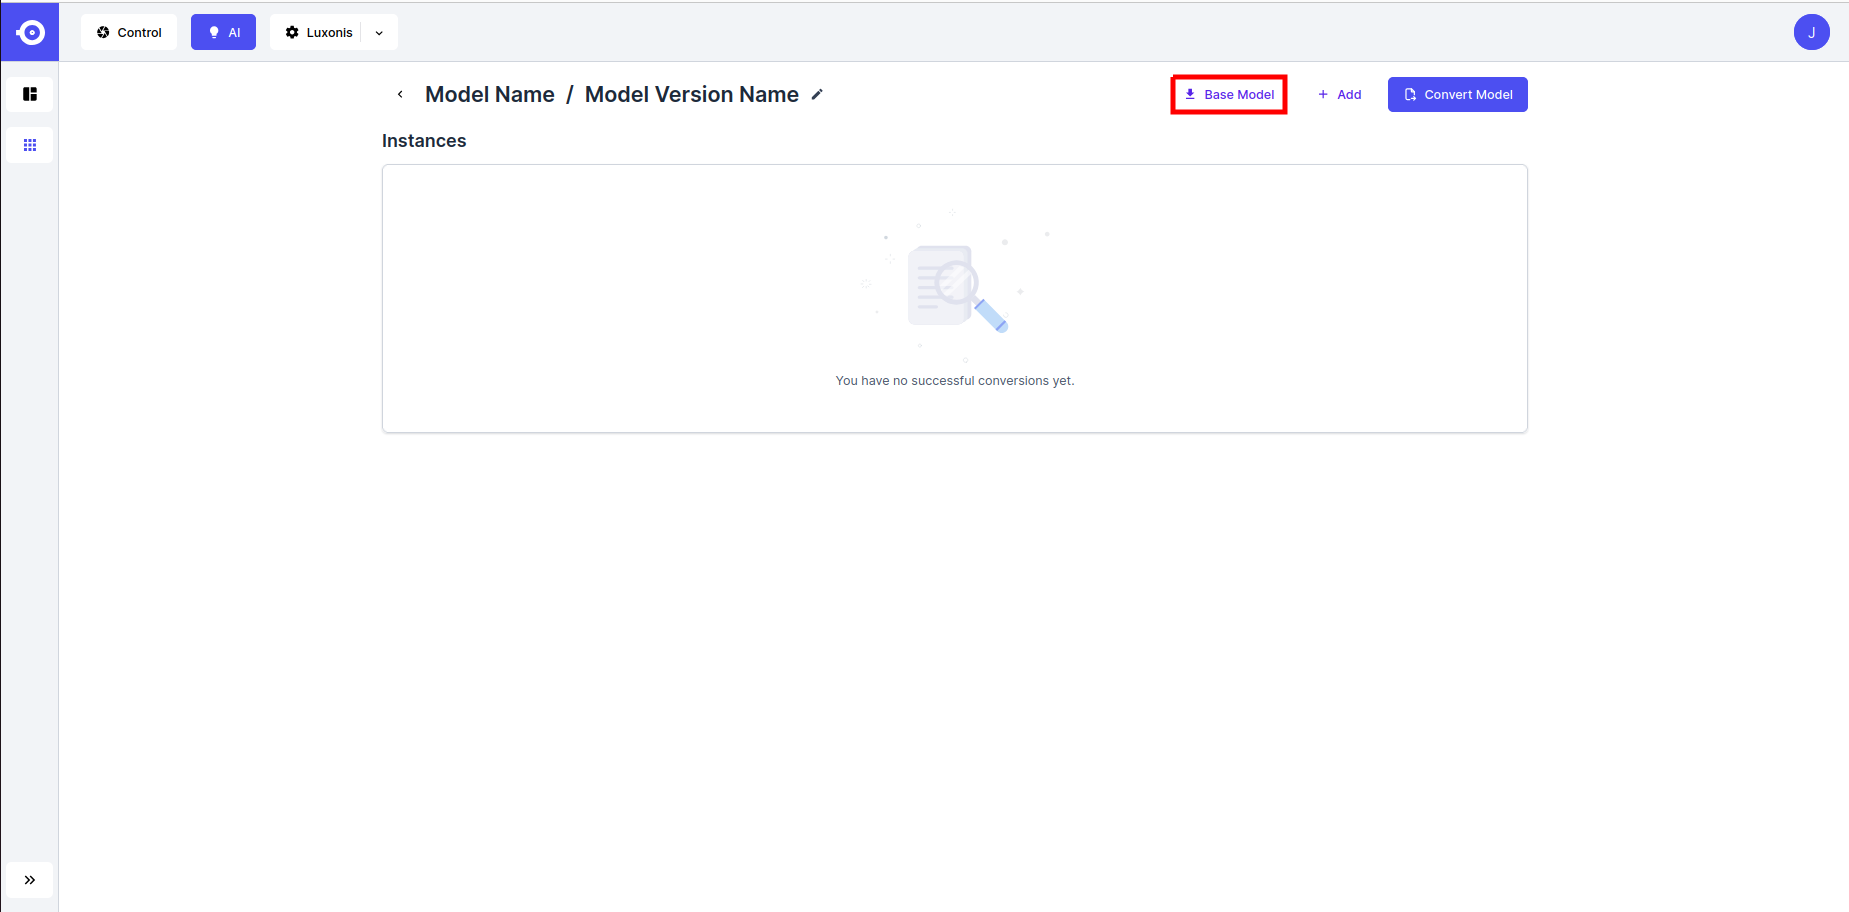
- This opens a pop-up window. Click on the model name to start the download.

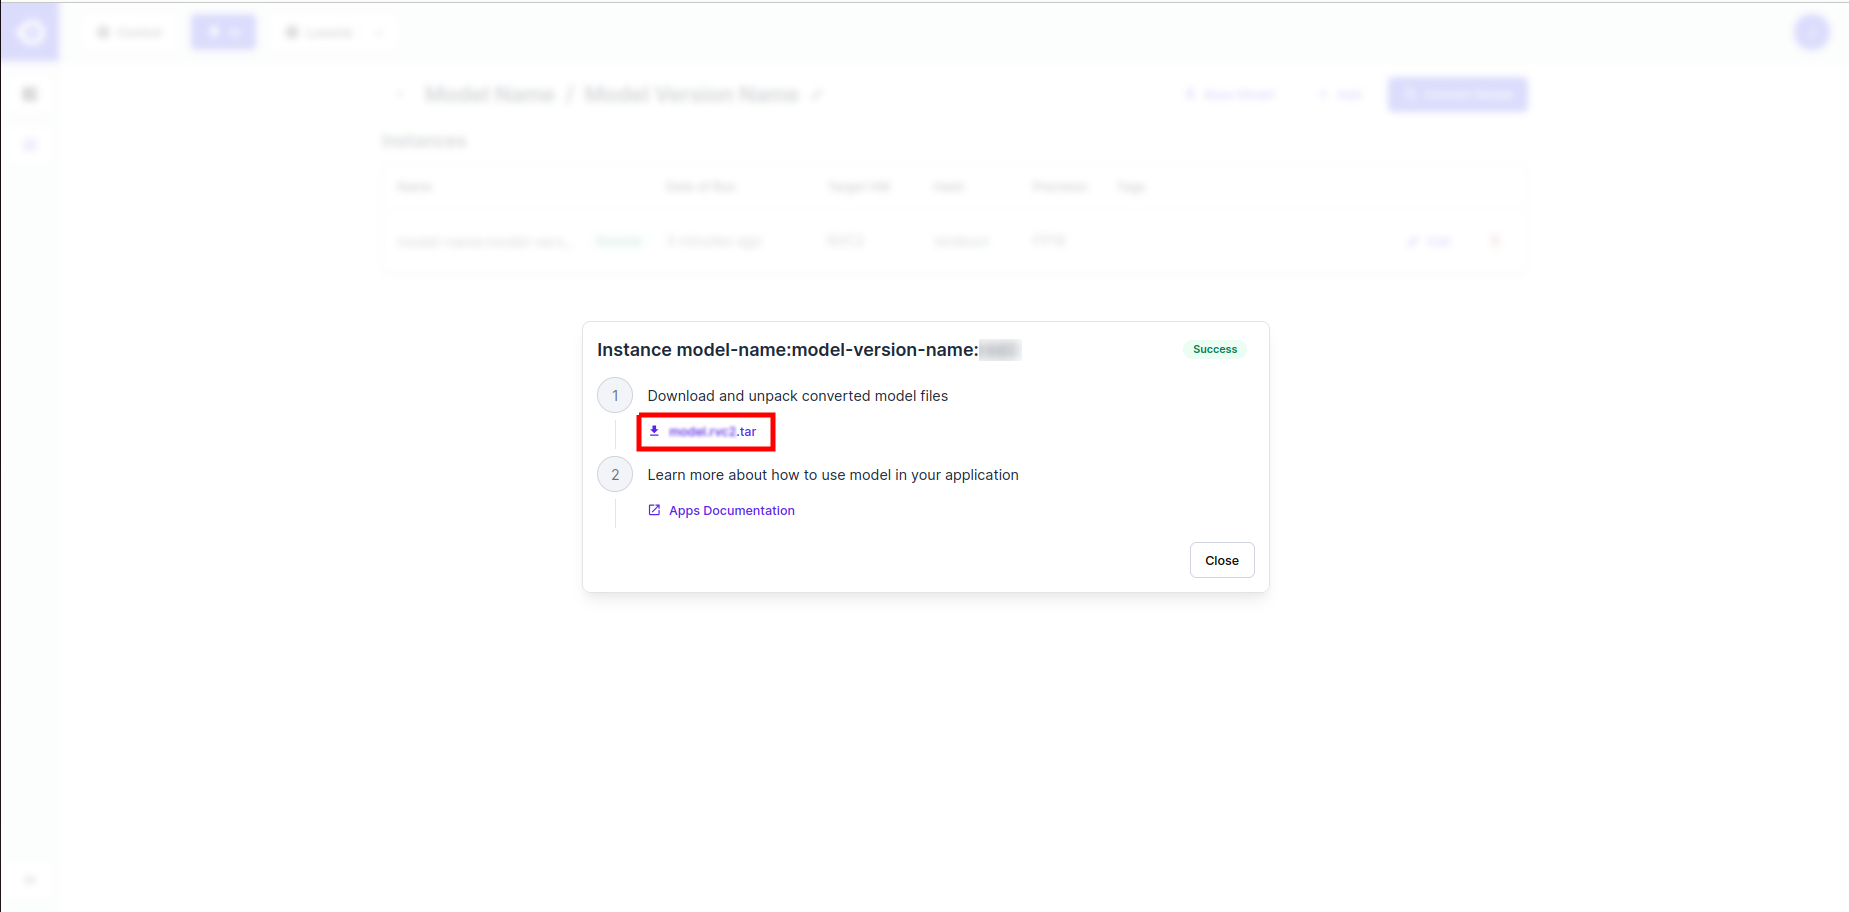
Converted Model
- To download a converted model, click on the name of the converted instance.
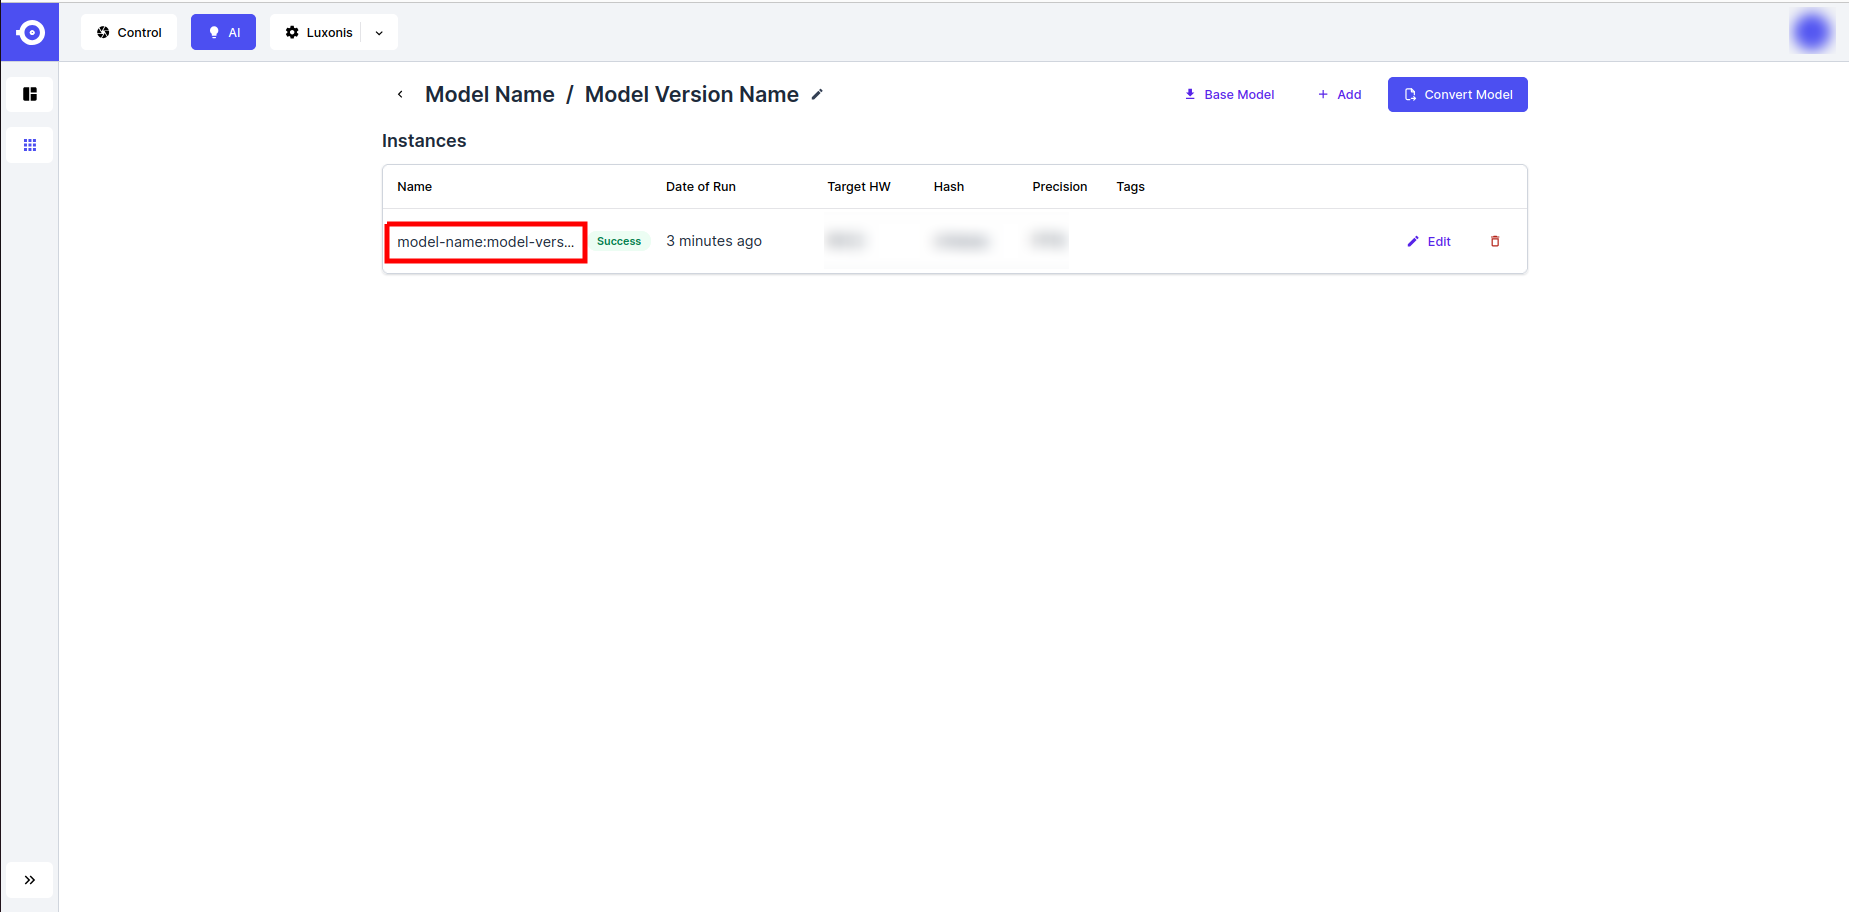
- This opens a pop-up window. Click on the name of the
.tar.xzfile to start the download.