Deploy with NVIDIA's Jetson
pip. DepthAI provides prebuilt wheels for Jetson on PyPi.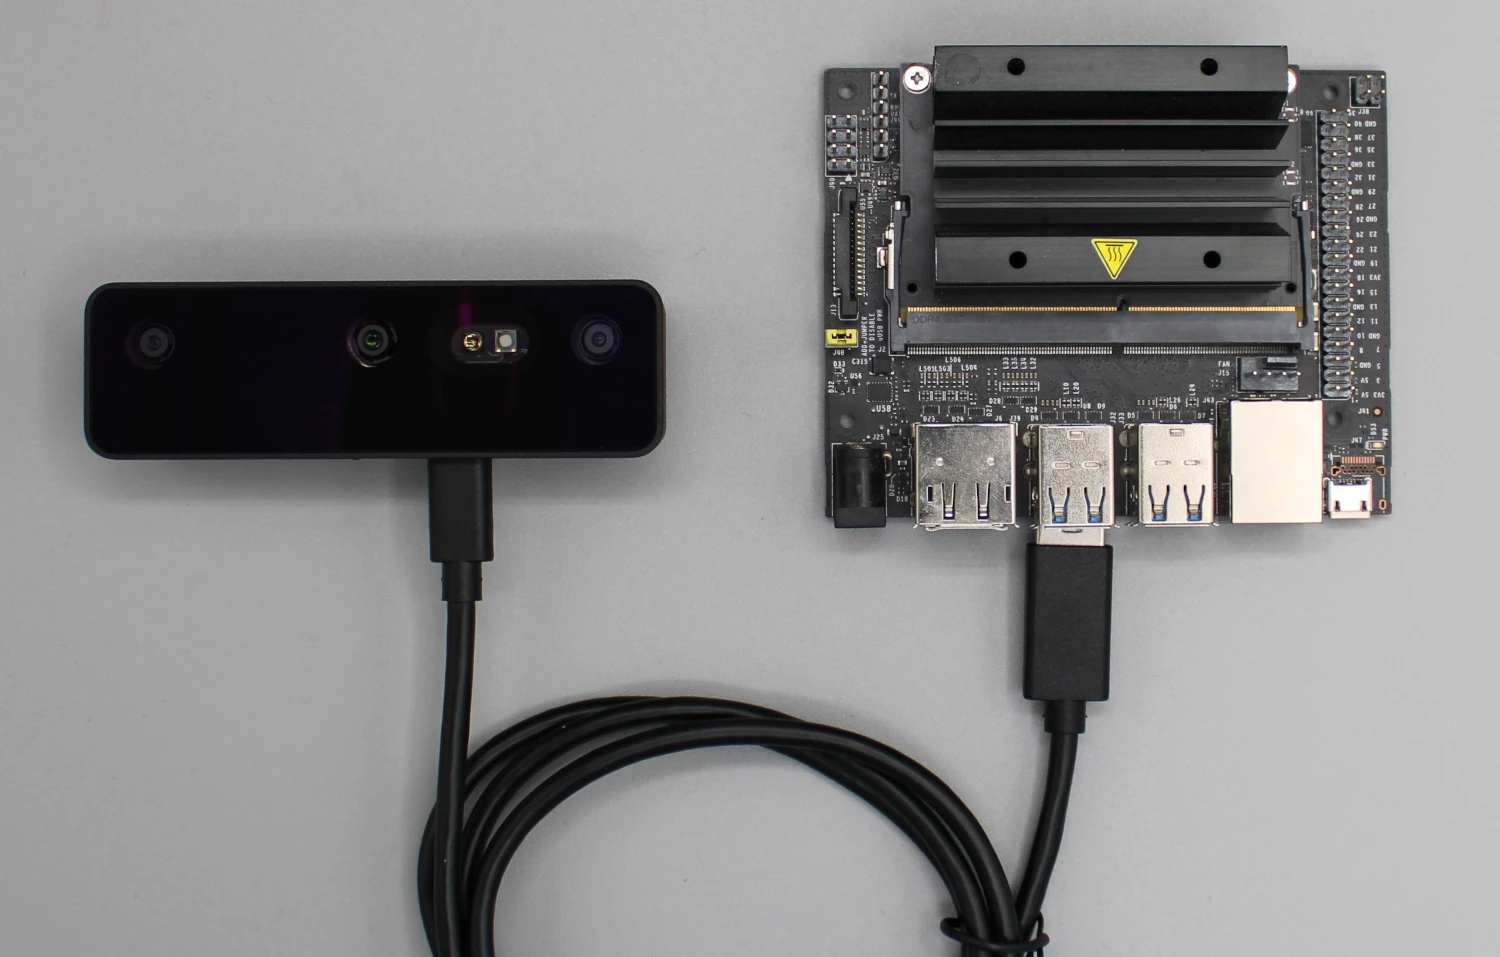
Installing DepthAI on Jetson
1
apt update/upgrade
Open a terminal window and run the following commands:
Command Line
1sudo apt update && sudo apt upgrade
2sudo reboot now
2
SWAP size
Change the size of your SWAP. These instructions come from the Getting Started with AI on Jetson from Nvidia:If you have an issue with the final command, you can try the following:
Command Line
1# Disable ZRAM:
2sudo systemctl disable nvzramconfig
3# Create 4GB swap file
4sudo fallocate -l 4G /mnt/4GB.swap
5sudo chmod 600 /mnt/4GB.swap
6sudo mkswap /mnt/4GB.swapCommand Line
1sudo vi /etc/fstab
2# Add this line at the bottom of the file
3/mnt/4GB.swap swap swap defaults 0 0
4# Reboot
5sudo reboot now
3
Dependencies
Install depthai dependencies
Command Line
1sudo wget -qO- https://docs.luxonis.com/install_dependencies.sh | bash4
venv
Create a python virtual environment
Command Line
1sudo apt install python3-venv
2python3 -m venv depthai
3source depthai/bin/activate
Install in venv
Before installing
depthai, make sure you're in the virtual environment.5
DepthAI repo
Clone the DepthAI repository and install the library
Command Line
1#Clone github repository
2git clone https://github.com/luxonis/depthai-python.git
3cd depthai-python
4python3 examples/install_requirements.py
6
.bashrc
Last step is to edit
.bashrc with the line:Command Line
1echo "export OPENBLAS_CORETYPE=ARMV8" >> ~/.bashrcPowering OAK from Jetson
Interface Options
Command Line
1ssh username@jetson_ip_addressusername with your Jetson's username (default is usually jetson or nvidia) and jetson_ip_address with the device's IP address.If you're using a Jetson with a graphical interface, you can use X11 forwarding to display GUI elements on your local machine. To do this, use the -X flag when SSHing into the Jetson:Command Line
1ssh username@jetson_ip_address -X