Deploy with RockPi
Deploy with RockPi
pip. Prebuilt wheels for various platforms can be checked on PyPi.RockPi 4
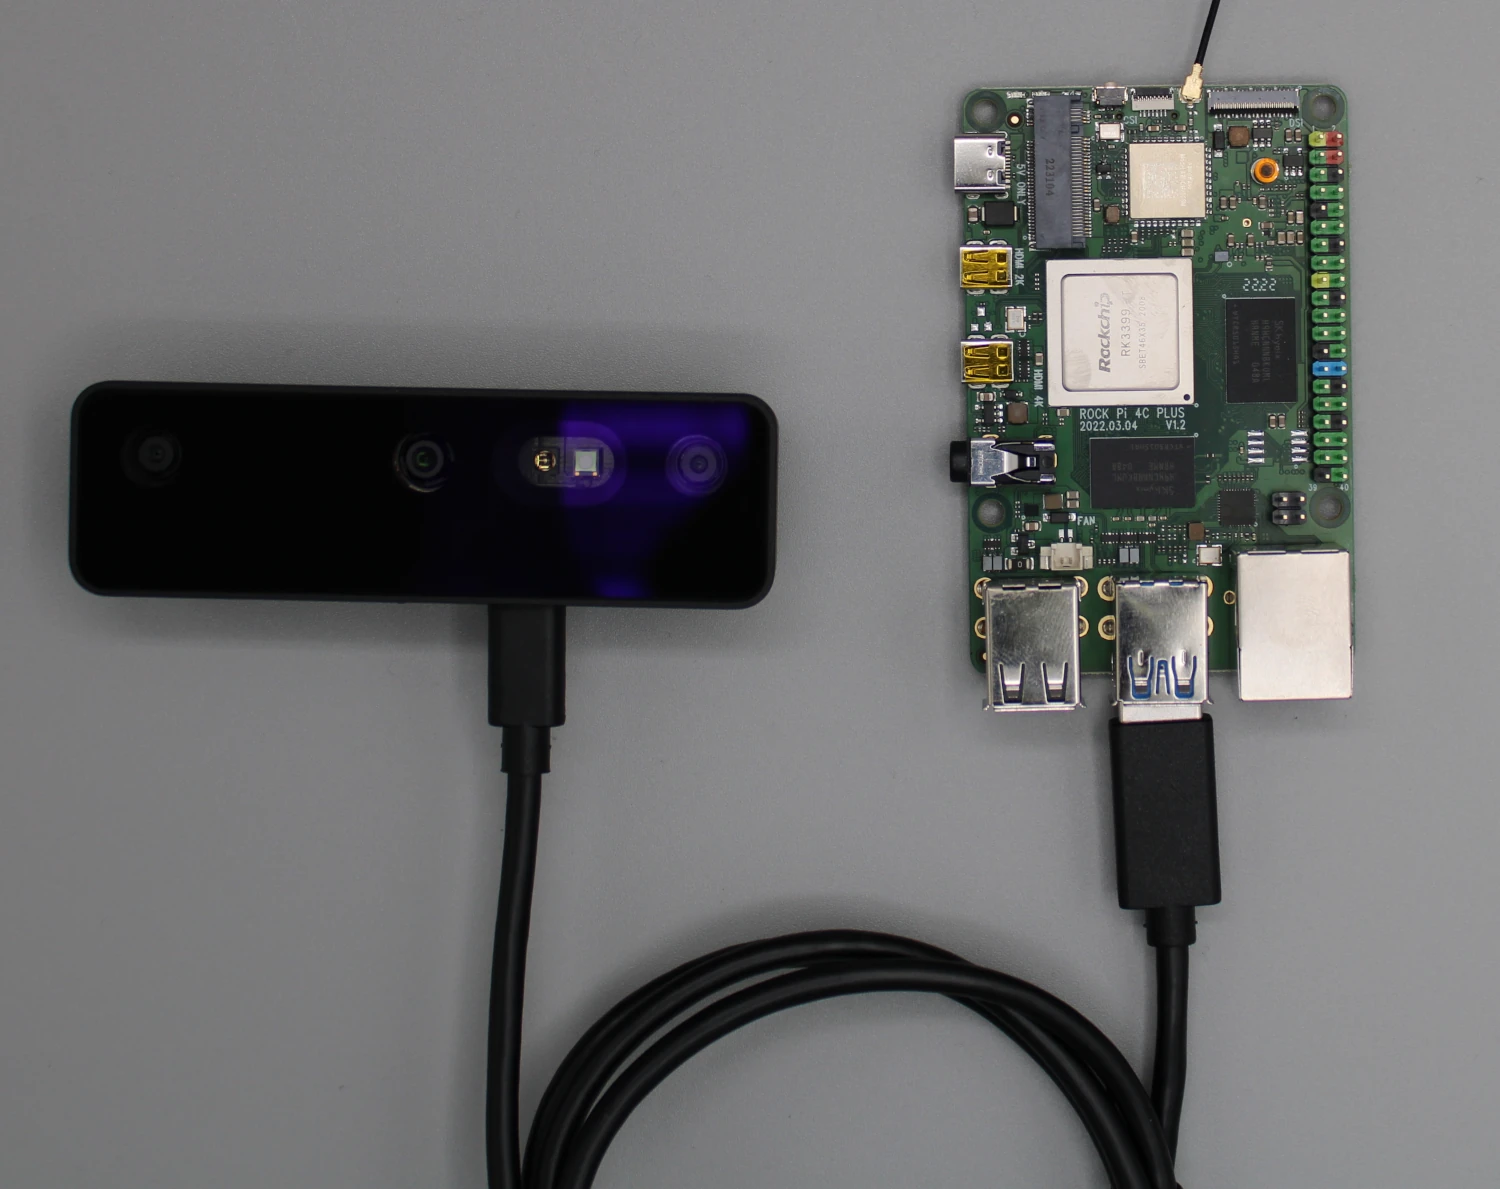
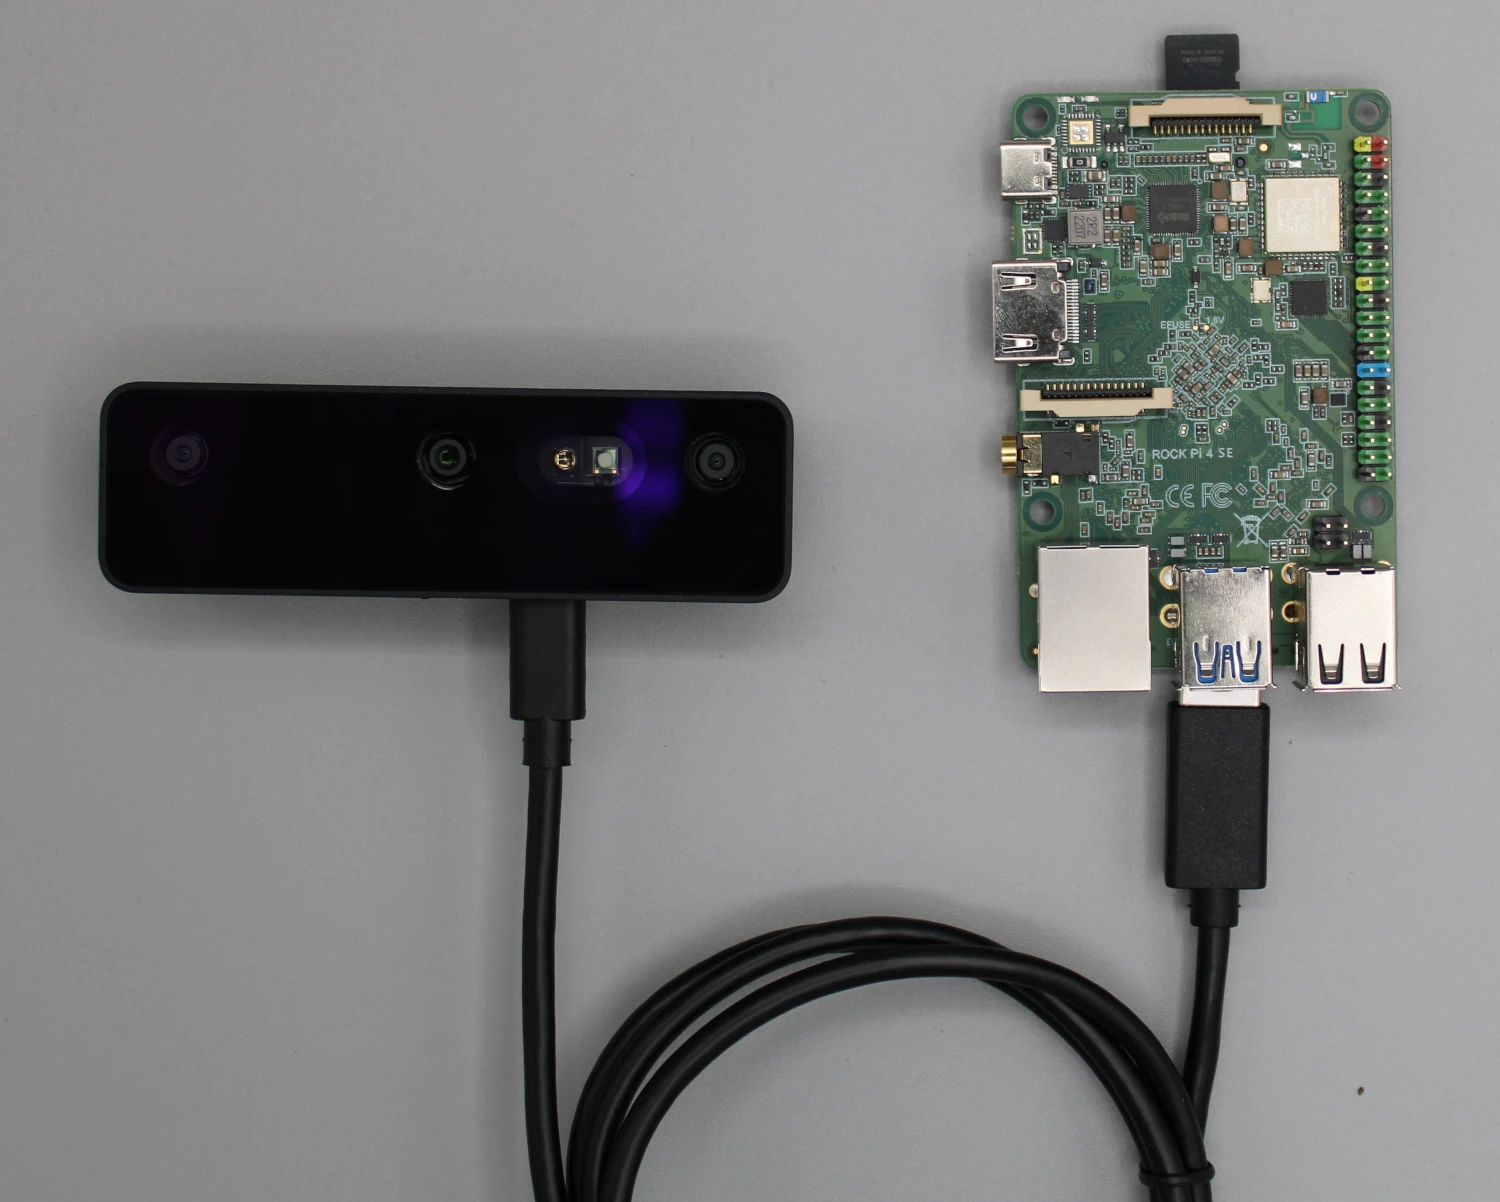
RockPi 4
Installing DepthAI on RockPi 4
- Ubuntu Server (20.04)
- Debian 11 Desktop
Open a terminal window and run the following commands to update your system:
Command Line
1sudo apt update && sudo apt upgradeInstall the DepthAI dependencies:This script should handle most dependency installations. Double-check for any RockPi-specific dependencies if this script fails.
Command Line
1sudo wget -qO- https://docs.luxonis.com/install_dependencies.sh | bashIt's a good practice to use a Python virtual environment:Ensure you activate the virtual environment before proceeding with the DepthAI installation.
Command Line
1sudo apt install python3-venv
2python3 -m venv depthai-env
3source depthai-env/bin/activateClone the DepthAI repository and install the library
Command Line
1git clone https://github.com/luxonis/depthai-python.git
2cd depthai-python
3python3 examples/install_requirements.pyLast step is to edit
.bashrc with the line:Command Line
1echo "export OPENBLAS_CORETYPE=ARMV8" >> ~/.bashrcPower Considerations for OAK on RockPi
Connecting to RockPi Remotely
Command Line
1ssh username@rockpi_ip_address-X flag:Command Line
1ssh -X username@rockpi_ip_address- Install a VNC server on your RockPi.
- Enable and configure the VNC server.
- Connect using a VNC client from another computer.