Image Quality
- Changing Color camera ISP configuration
- Try keeping camera sensitivity low - Low-light increased sensitivity
- Camera tuning with custom tuning blobs
- Ways to reduce Motion blur effects
Color camera ISP configuration
sharpness, luma denoise, and chroma denoise, which can improve IQ. We have noticed that sometimes these values provide better results:Python
1camRgb = pipeline.create(dai.node.ColorCamera)
2camRgb.initialControl.setSharpness(0) # range: 0..4, default: 1
3camRgb.initialControl.setLumaDenoise(0) # range: 0..4, default: 1
4camRgb.initialControl.setChromaDenoise(4) # range: 0..4, default: 1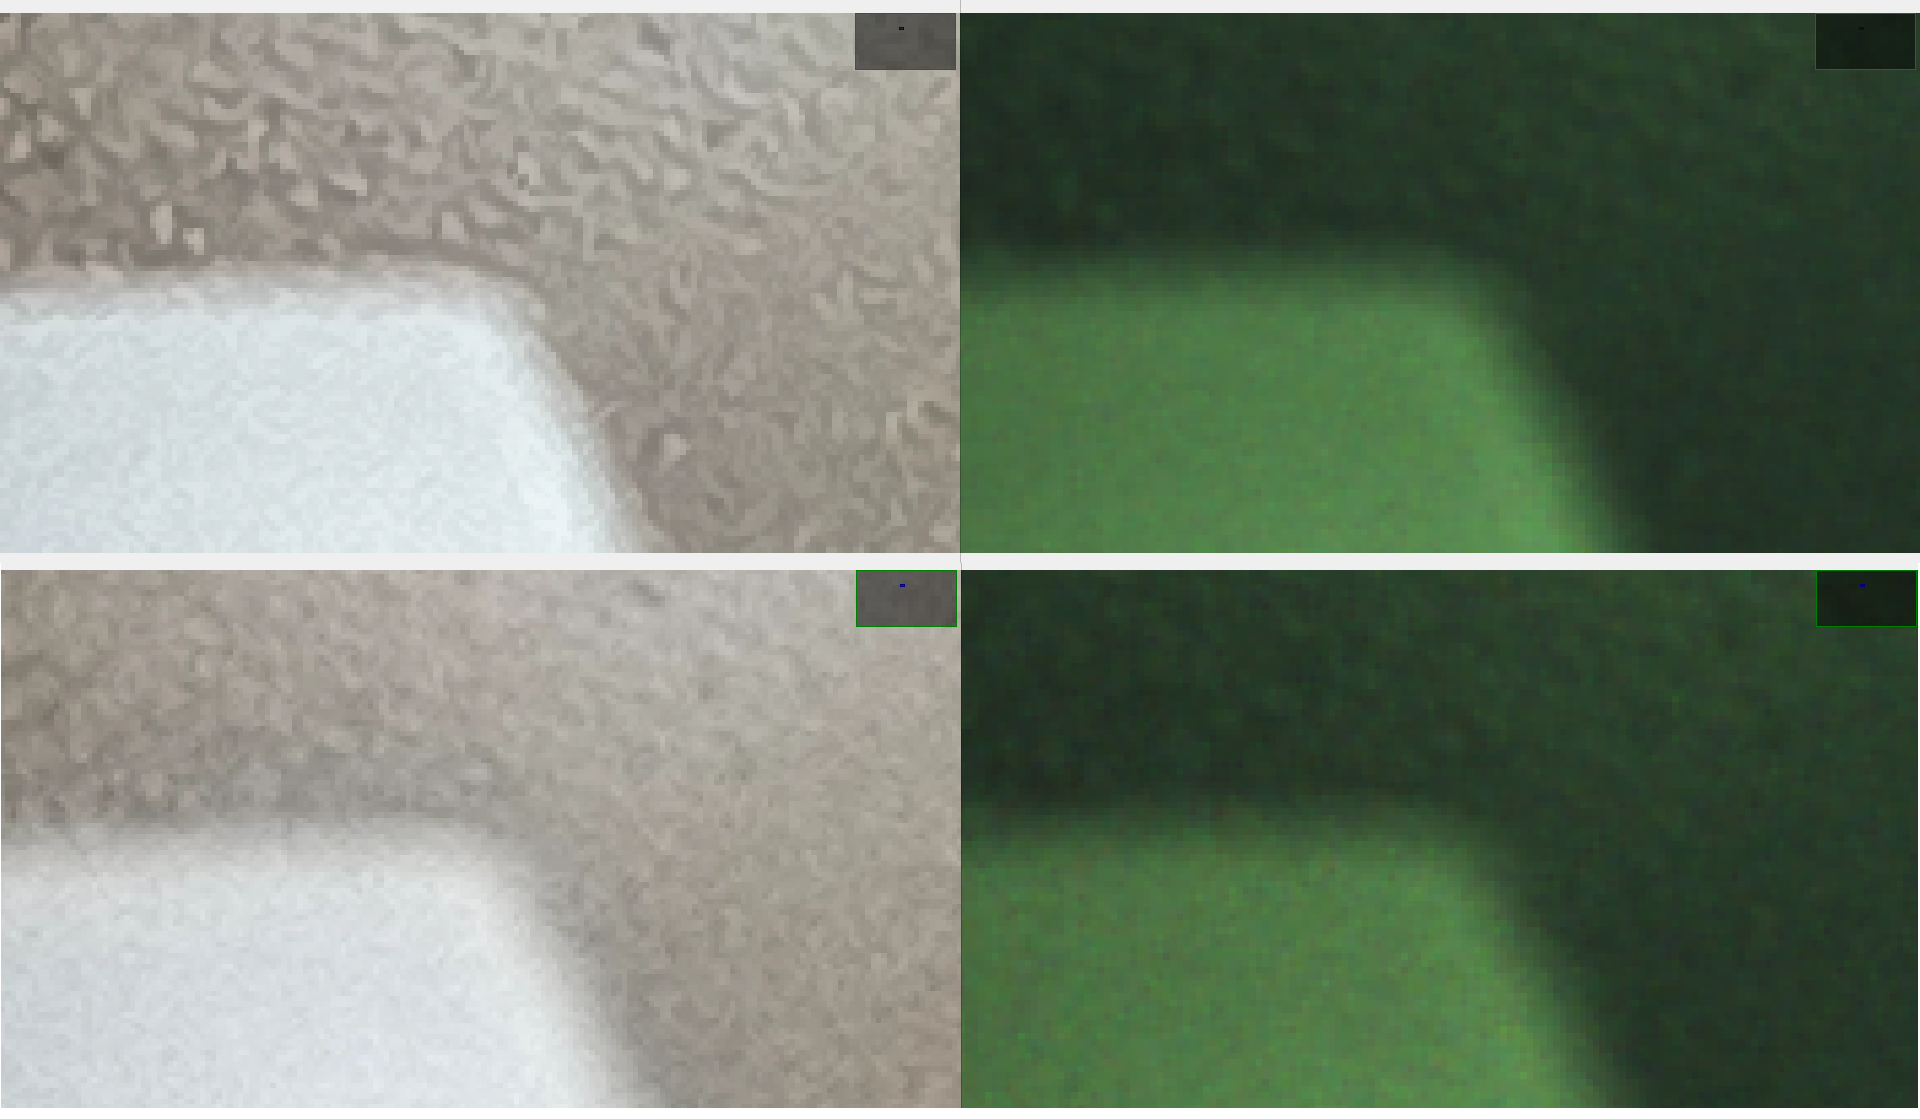 The zoomed-in image above showcases the IQ difference between ISP configuration (discussion here). Note that for best IQ, you would need to test and evaluate these values for your specific application.On the Wide FOV cameras, you can select between wide FOV IMX378 and OV9782. In general, the IQ of OV9782 won't be as good as IMX378, as the resolution is much lower, and it's harder to deal with sharpness/noise at low resolutions. With high resolution the image can be downscale and noise would be less visible. And even though OV9782 has quite large pixels, in general the noise levels of global shutters are more significant than for rolling shutter.
Low-light increased sensitivity
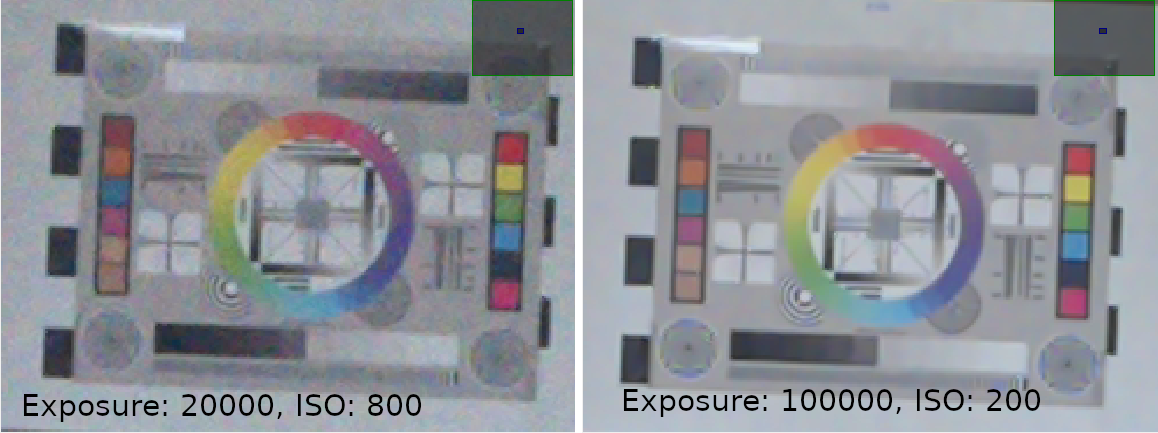 About 15x digitally zoomed-in image of a standard A4 camera tuning target at 420cm (40 lux). We have used 12MP IMX378 (on OAK-D) for this image.
Camera tuning
Py
1import depthai as dai
2
3pipeline = dai.Pipeline()
4pipeline.setCameraTuningBlobPath('/path/to/tuning.bin')- so the majority of people will only be able to use pre-tuned blobs. Currently available tuning blobs:
- Mono tuning for low-light environments here. This allows auto-exposure to go up to 200ms (otherwise limited with default tuning to 33ms). For 200ms auto-exposure, you also need to limit the FPS (
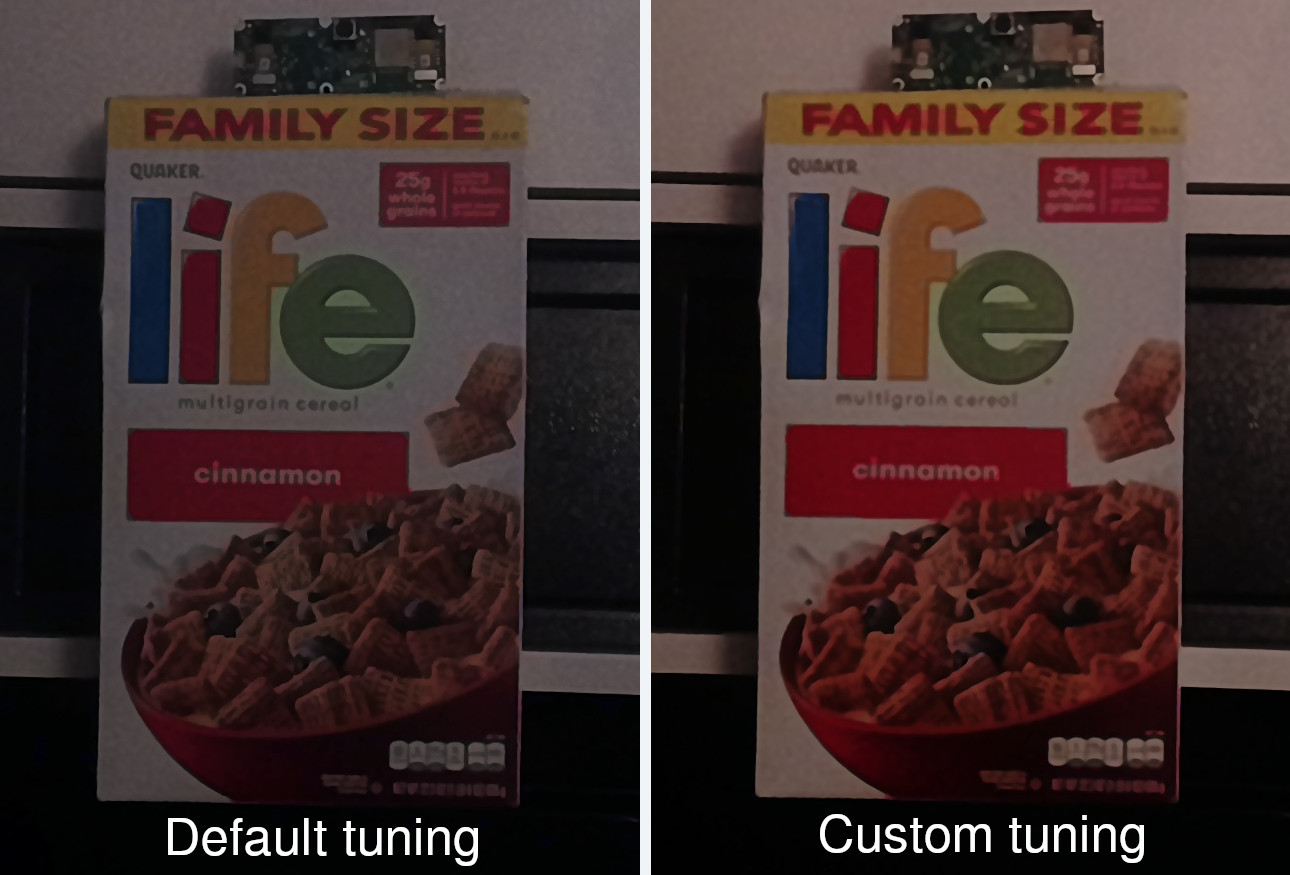
monoRight.setFps(5)) - Color tuning for low-light environments here. Comparison below. This allows auto-exposure to go up to 100ms (otherwise limited with default tuning to 33ms). For 200ms auto-exposure, you also need to limit the FPS (
rgbCam.setFps(10)). Known limitation: flicker can be seen with auto-exposure over 33ms, it is caused by auto-focus working in continuous mode. A workaround is to change from CONTINUOUS_VIDEO ( default) to AUTO (focusing only once at init, and on further focus trigger commands):camRgb.initialControl.setAutoFocusMode(dai.CameraControl.AutoFocusMode.AUTO) - OV9782 Wide FOV color tuning for sunlight environments here. Fixes lens color filtering on direct sunlight, see blog post here. It also improves LSC (Lens Shading Correction). Currently doesn't work for OV9282, so when used on eg. Series 2 OAK with Wide FOV cams, mono cameras shouldn't be enabled.
- Camera exposure limit: max 500us, max 8300us. These tuning blobs will limit the maximum exposure time, and instead start increasing ISO (sensitivity) after max exposure time is reached. This is a useful approach to reduce the Motion blur.
Motion blur
Rolling shutter sensor timings
 The animation shows the difference between a shorter (left) and a longer (right) exposure time. During a shorter exposure time, even a fast moving object can move a shorter distance, which causes less motion blur.
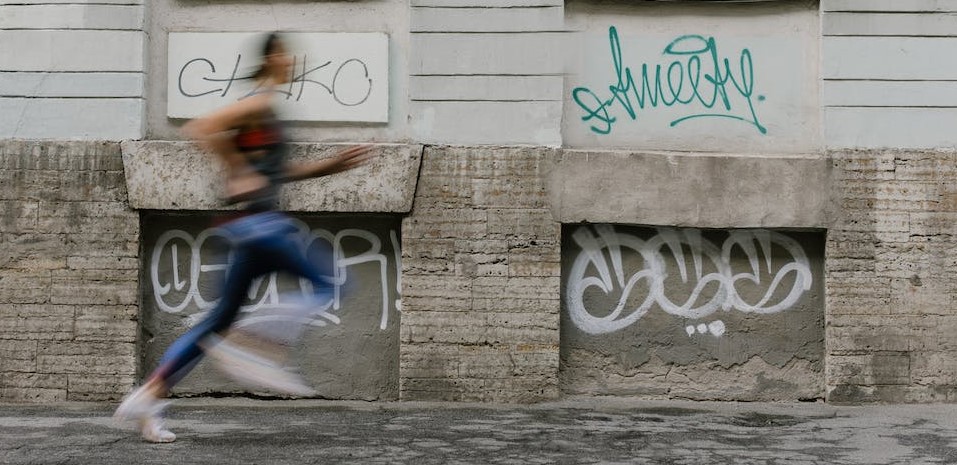 In the image above the right foot moved about 50 pixels during the exposure time, which results in a blurry image in that region. The left foot was on the ground the whole time of the exposure, so it's not blurry.In high-vibration environments we recommend using Fixed-Focus color camera, as otherwise the Auto-Focus lens will be shaking and cause blurry images docs here.Potential workarounds:
- Have better (brighter) lighting, which will cause the camera to use a shorter exposure time, and thus reduce motion blur.
- Limit the shutter (exposure) time - this will decrease the motion blur, but will also decrease the light that reaches the sensor, so the image will be darker. You could either use a larger sensor (so more photons hit the sensor) or use a higher ISO (sensitivity) value. One option to limit max exposure time is by using a Camera tuning blob.
Py
1camRgb = pipeline.create(dai.node.ColorCamera)
2# Max exposure limit in microseconds. After this time, ISO will be increased instead of exposure.
3camRgb.initialControl.setAutoExposureLimit(10000) # Max 10ms- If the motion blur negatively affects your model's accuracy, you could fine-tune it to be more robust to motion blur by including motion blur images in your training dataset
High Dynamic Range (HDR) Imaging
QBC HDR

Note: Because exposures occur in parallel on the 2x2 Quad Bayer pixel structure with different durations, some motion artifacts may appear, especially in fast-moving scenes.To set HDR parameters on the IMX582, use the following API command:
Python
1colorCam.initialControl.setMisc("hdr-exposure-ratio", 4) # enables HDR when set `> 1`, current options: 2, 4, 8
2colorCam.initialControl.setMisc("hdr-local-tone-weight", 75) # range 0..100hdr-exposure-ratio controls the relative exposure times of three separate captures that compose a single HDR image:- Long Exposure: This is the base exposure time, typically set manually or by auto-exposure.
- Middle Exposure: Calculated as
long exposure time / hdr-exposure-ratio. - Short Exposure: Calculated as
long exposure time / (hdr-exposure-ratio * hdr-exposure-ratio).
hdr-exposure-ratio of 4 and a long exposure of 100ms:- Long Exposure: 100ms
- Middle Exposure: 25ms (100ms / 4)
- Short Exposure: 6.25ms (100ms / 16)
hdr-local-tone-weight helps balance how brightness and contrast adjustments are applied across the image:- Local Tone Mapping: Adjusts brightness and contrast in small areas to preserve details and textures.
- Global Tone Mapping: Modifies the entire image to keep it looking balanced and realistic.
hdr-local-tone-weight values enhance details but may lead to unnatural contrasts. Lower values help the image look uniform but could reduce clarity in detailed areas.HDR ComparisonBelow is a side-by-side comparison of HDR versus non-HDR on the IMX582 sensor using OAK-1 Max. The left image is underexposed, making dark areas hard to see. The middle image is overexposed, losing bright details. The right image, with HDR enabled, balances brightness and retains details in both highlights and shadows. The settings for the HDR image above were used in the following command for cam_test.py:
Python
1python cam_test.py -fps 10 -cres 12mp -misc hdr-exposure-ratio=4 hdr-local-tone-weight=75