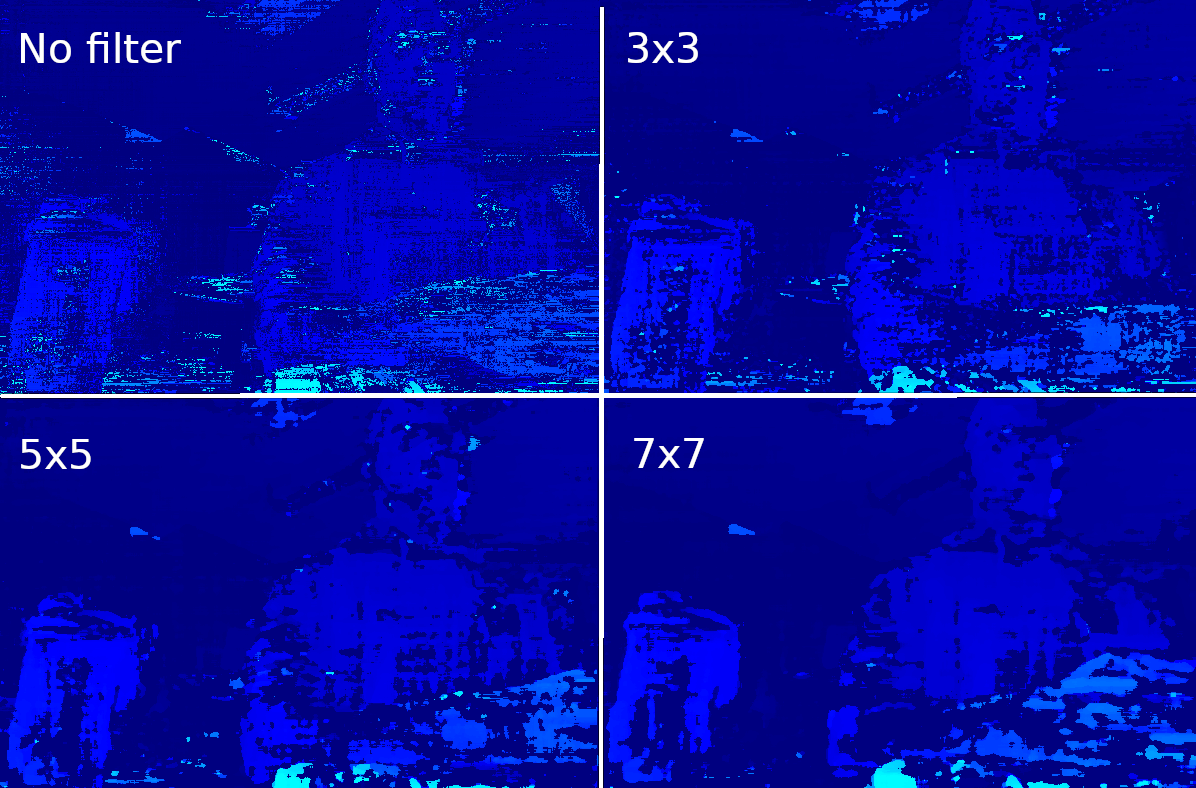
Depth Preview
lr_check: used for better occlusion handling. For more information click hereextended_disparity: suitable for short range objects. For more information click heresubpixel: suitable for long range. For more information click here
Similar samples:
Demo

Setup
Command Line
1git clone https://github.com/luxonis/depthai-python.git
2cd depthai-python/examples
3python3 install_requirements.pySource code
Python
C++
Python
PythonGitHub
1#!/usr/bin/env python3
2
3import cv2
4import depthai as dai
5import numpy as np
6
7# Closer-in minimum depth, disparity range is doubled (from 95 to 190):
8extended_disparity = False
9# Better accuracy for longer distance, fractional disparity 32-levels:
10subpixel = False
11# Better handling for occlusions:
12lr_check = True
13
14# Create pipeline
15pipeline = dai.Pipeline()
16
17# Define sources and outputs
18monoLeft = pipeline.create(dai.node.MonoCamera)
19monoRight = pipeline.create(dai.node.MonoCamera)
20depth = pipeline.create(dai.node.StereoDepth)
21xout = pipeline.create(dai.node.XLinkOut)
22
23xout.setStreamName("disparity")
24
25# Properties
26monoLeft.setResolution(dai.MonoCameraProperties.SensorResolution.THE_400_P)
27monoLeft.setCamera("left")
28monoRight.setResolution(dai.MonoCameraProperties.SensorResolution.THE_400_P)
29monoRight.setCamera("right")
30
31# Create a node that will produce the depth map (using disparity output as it's easier to visualize depth this way)
32depth.setDefaultProfilePreset(dai.node.StereoDepth.PresetMode.HIGH_DENSITY)
33# Options: MEDIAN_OFF, KERNEL_3x3, KERNEL_5x5, KERNEL_7x7 (default)
34depth.initialConfig.setMedianFilter(dai.MedianFilter.KERNEL_7x7)
35depth.setLeftRightCheck(lr_check)
36depth.setExtendedDisparity(extended_disparity)
37depth.setSubpixel(subpixel)
38
39# Linking
40monoLeft.out.link(depth.left)
41monoRight.out.link(depth.right)
42depth.disparity.link(xout.input)
43
44# Connect to device and start pipeline
45with dai.Device(pipeline) as device:
46
47    # Output queue will be used to get the disparity frames from the outputs defined above
48    q = device.getOutputQueue(name="disparity", maxSize=4, blocking=False)
49
50    while True:
51        inDisparity = q.get()  # blocking call, will wait until a new data has arrived
52        frame = inDisparity.getFrame()
53        # Normalization for better visualization
54        frame = (frame * (255 / depth.initialConfig.getMaxDisparity())).astype(np.uint8)
55
56        cv2.imshow("disparity", frame)
57
58        # Available color maps: https://docs.opencv.org/3.4/d3/d50/group__imgproc__colormap.html
59        frame = cv2.applyColorMap(frame, cv2.COLORMAP_JET)
60        cv2.imshow("disparity_color", frame)
61
62        if cv2.waitKey(1) == ord('q'):
63            break
Pipeline
Need assistance?
Head over to Discussion Forum for technical support or any other questions you might have.