Hardware documentation
Camera Sensors
Getting Started
Environmental Specifications
Deployment
Our devices
Filter
RVC generationConnection
Stereo Depth
Field of View
Shutter Type
Sensors
RGB Camera Only
Stereo Camera
ToF
Thermal Sensor
GridTable
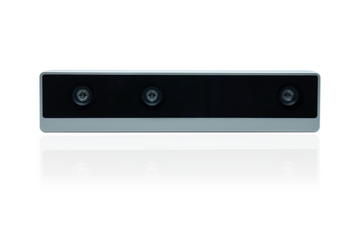
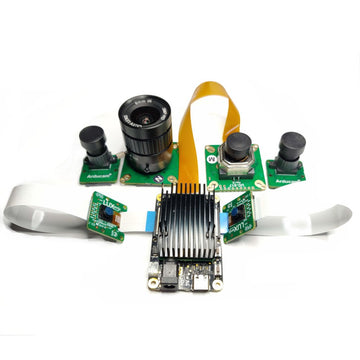
OAK 4 S
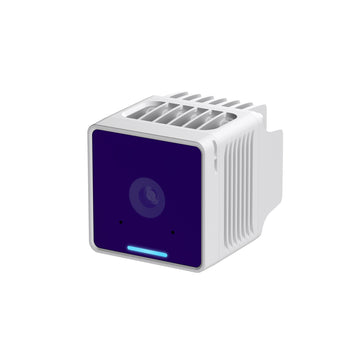
Camera
OAK 4 D
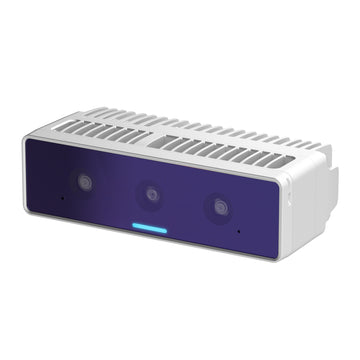
Camera

OAK 4 D Pro
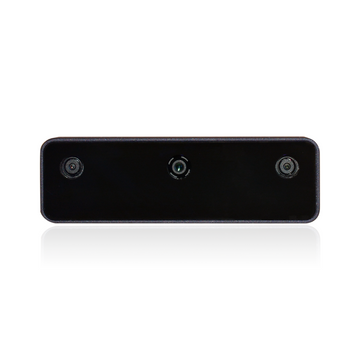
Camera

OAK 4 SoM
SoM

OAK 4 CS
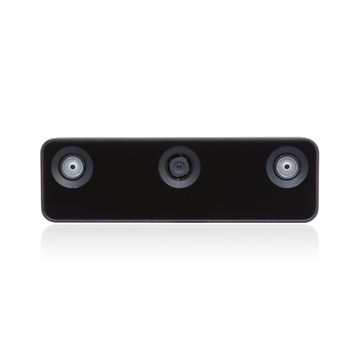
Camera
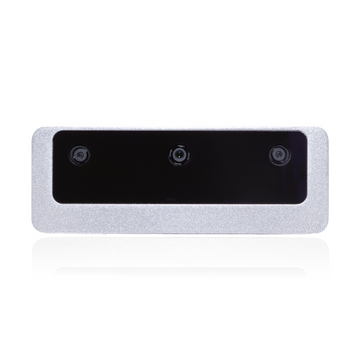
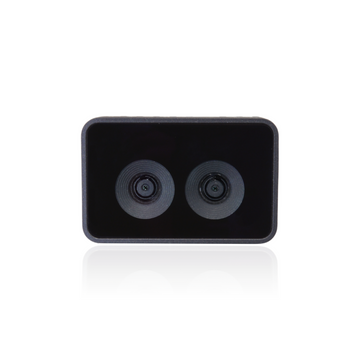
OAK-D S2
Camera
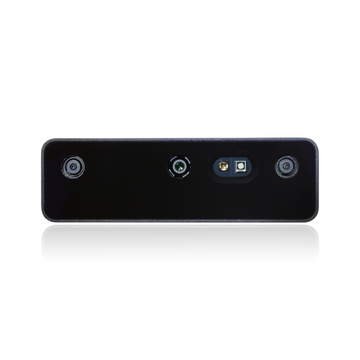
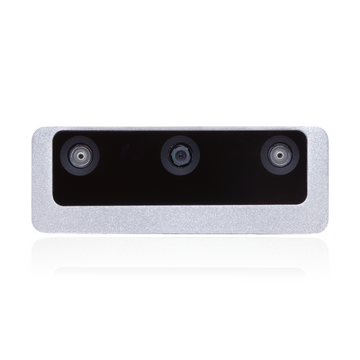
OAK-D W
Camera
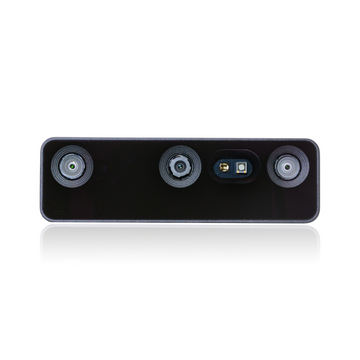
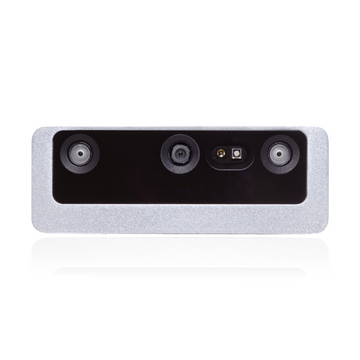
OAK-D Pro
Camera
OAK-D Pro W
Camera
OAK-D Lite
Camera
OAK-D
Camera
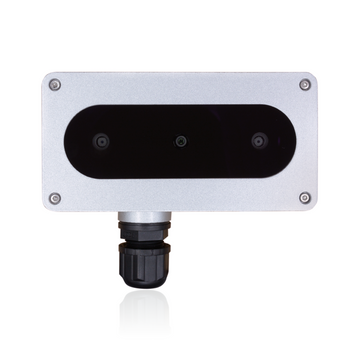
OAK-D S2 PoE
Camera
OAK-D W PoE
Camera

OAK-D Pro PoE
Camera
OAK-D Pro W PoE
Camera
OAK-D PoE
Camera
OAK-1 PoE
Camera

OAK-1 W PoE
Camera
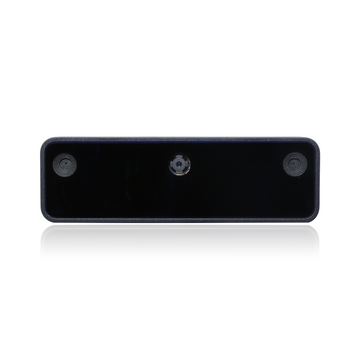
OAK-1
Camera
OAK-1 W
Camera

OAK-1 MAX
Camera

OAK-1 Lite
Camera

OAK-1 Lite W
Camera
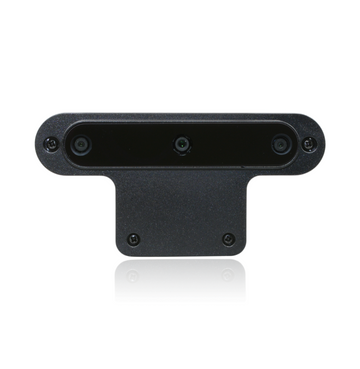
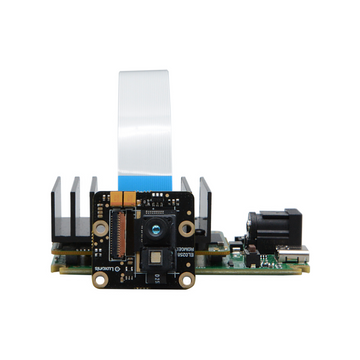
OAK-D CM4
Camera
OAK-D CM4 PoE
Camera
OAK-D LR
Camera
OAK-D SR
Camera

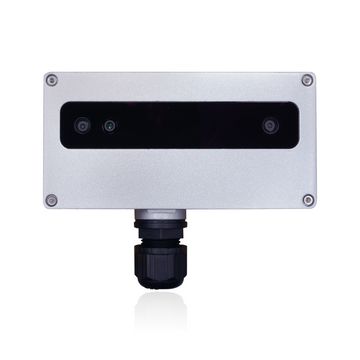
OAK-D ToF
Camera
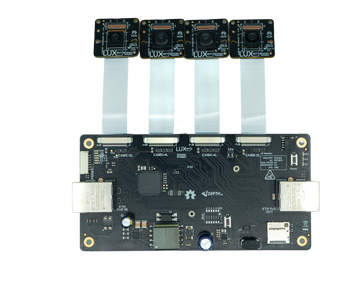
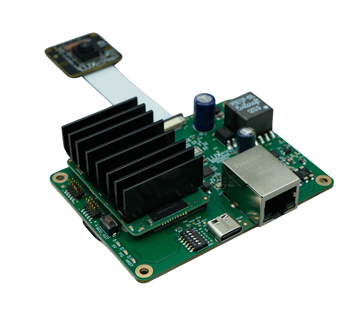
OAK-FFC 4P PoE
FFC Board
OAK-FFC 1P PoE
FFC Board
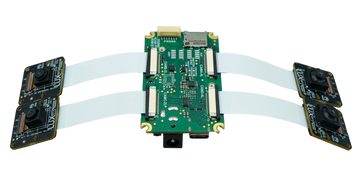
OAK-FFC 4P
FFC Board
OAK-FFC 3P
FFC Board
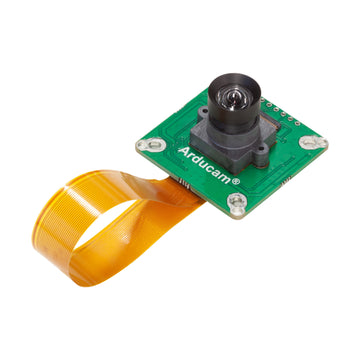
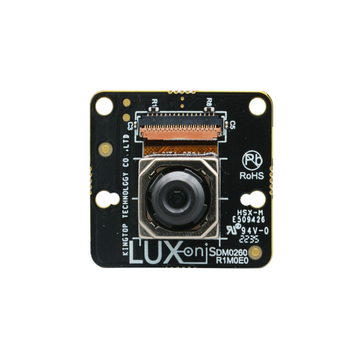
OAK-FFC AR0234 M12
FFC Module
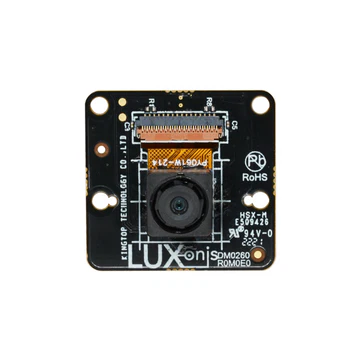
OAK-FFC IMX462
FFC Module
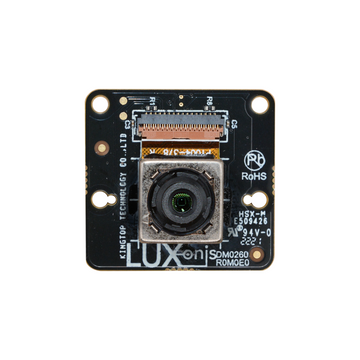
OAK-FFC IMX477 M12
FFC Module
OAK-FFC IMX577 M12
FFC Module
OAK-FFC OV9282 M12 (22 pin)
FFC Module
OAK-FFC OV9782 M12 (22 pin)
FFC Module
OAK-FFC ToF 33D
FFC Module
OAK-FFC IMX582
FFC Module
OAK-FFC-IMX214-W
FFC Module
OAK-FFC-IMX378
FFC Module
OAK-FFC-IMX378-FF
FFC Module
OAK-FFC-IMX378-W
FFC Module

OAK-FFC-OV9282
FFC Module
OAK-FFC-OV9282-2
FFC Module
OAK-FFC-OV9282-W
FFC Module
OAK-FFC-OV9782-FF
FFC Module
OAK-FFC-OV9782-W
FFC Module
OAK-SoM (sets)
SoM
OAK Thermal
Camera
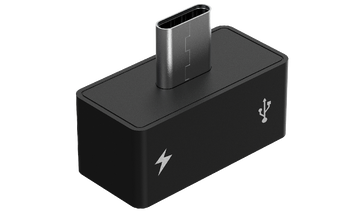
Y-Adapter
Other
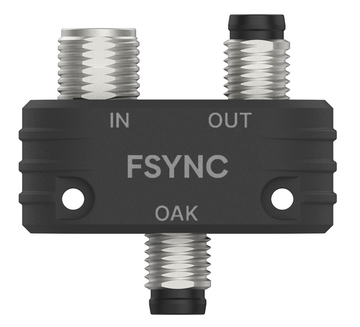
FSYNC Y-Adapter
Other