IMU Demonstration
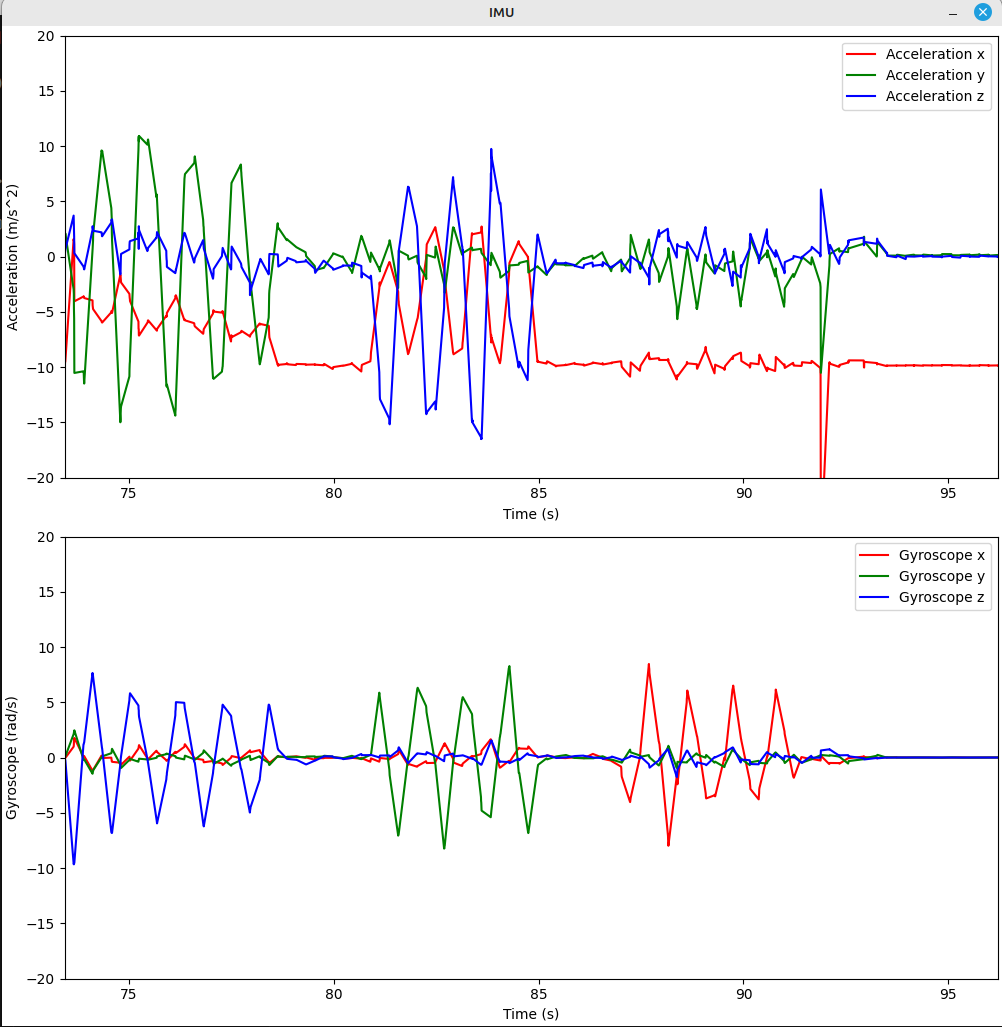
This example showcases how to use the integrated IMU sensor on the OAK-D board with the Depthai sdk. In our example we set the IMU to output data at 400Hz, and batch size to 5. This means we get 5 IMU readings every 12.5ms (2.5ms per reading * 5). We then print out the IMU data to the console.
Note
Visualization in current example is done with blocking behavor. This means that the program will halt at oak.start() until the window is closed.
This is done to keep the example simple. For more advanced usage, see Blocking behavior section.
Demo
Setup
Please run the install script to download all required dependencies. Please note that this script must be ran from git context, so you have to download the depthai repository first and then run the script
git clone https://github.com/luxonis/depthai.git
cd depthai/
python3 install_requirements.py
For additional information, please follow our installation guide.
Pipeline

Source Code
Also available on GitHub.
1 2 3 4 5 6 7 8 9 | from depthai_sdk import OakCamera with OakCamera() as oak: imu = oak.create_imu() imu.config_imu(report_rate=400, batch_report_threshold=5) # DepthAI viewer should open, and IMU data can be viewed on the right-side panel, # under "Stats" tab (right of the "Device Settings" tab). oak.visualize(imu.out.main) oak.start(blocking=True) |